Android Pay has just launched in Hong Kong. In this post we’ll show how to add your credit card to Android Pay step by step.
Before you begin, please make sure your Android device:
- Is NFC enabled.
- Runs KitKat 4.4 or later Android version.
- Is not rooted*.
*Rooting (jailbreaking for Apple devices) is a process that allows you to attain access to the Android operating system code and remove software restrictions. It gives you privileges to modify the software code on the device or install other software that the manufacturer wouldn’t normally allow you to. Android Pay works on non-rooted devices. To find out wether your device is rooted or not, you can take a look at this article. For reference you can also visit the official Android Pay page by clicking here.
Step by step instructions on how to add your credit cart to Android Pay
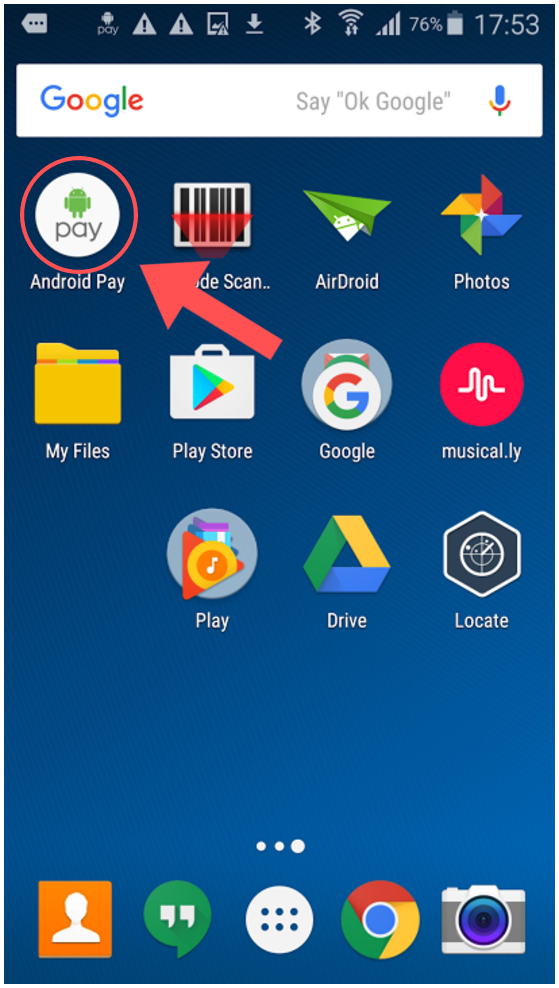
Step 1) Open Android Pay

Step 2) Tap Add a credit or debit card
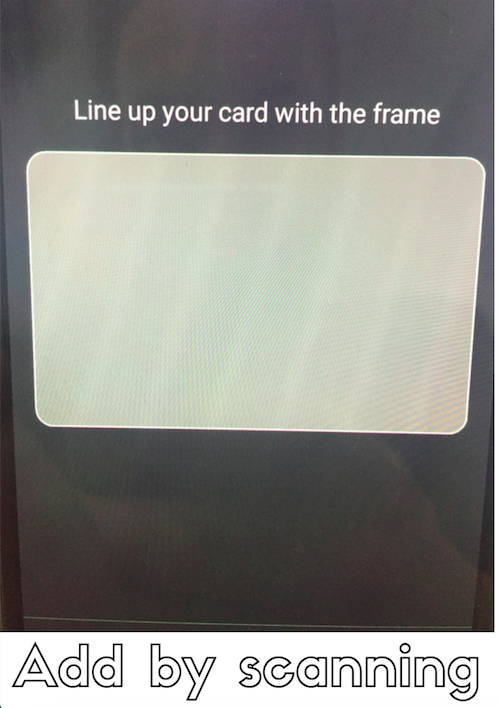
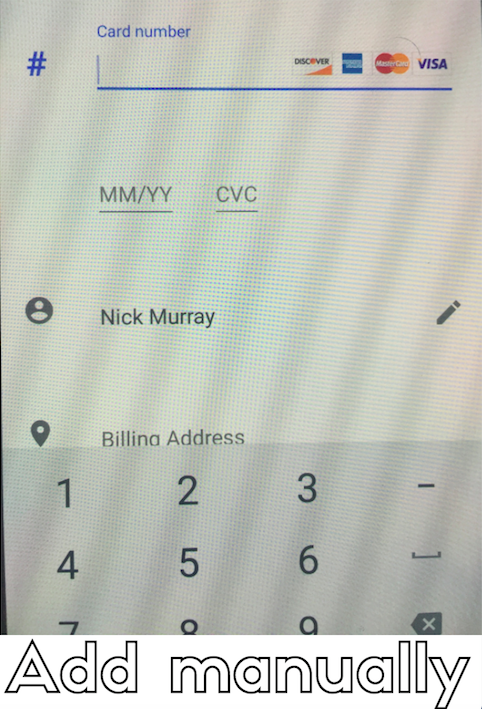
Step 3) At this point you will be prompted two options: Use the camera to capture your card info, or enter it yourself
a) Use Camera: in this case you have to position your credit card in the frame
b) Add card manually: in this case you have to manually type your card details
Step 4) If you’re asked to verify your card, choose a verification method from the list
Step 5) Find and enter the verification code
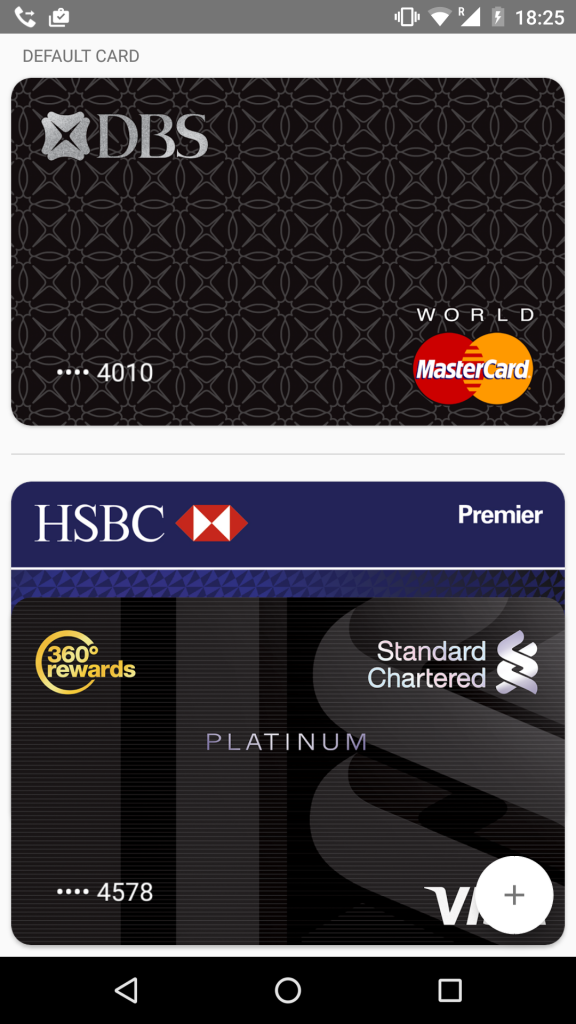
Step 6) All done! Here’s how your card will look like in Android Pay
Have you tried Android Pay in Hong Kong? What’s your experience been like? We’d love to know!


