With the release of iOS 10 and macOS Sierra in September 2016, users can now seamlessly use Apple Pay to make purchases with Safari on their iPhone, iPad, or on their Mac.
We’ve enabled one of our webpages, GemTot beacons, to accept transactions via Apple Pay (Stripe is what we use to accept payments).
This post will show you the steps we took to enable Apple Pay on the Web with Stripe, and we hope this will help anyone else out there that is looking to enable Apple Pay for their website.
Note: Kudos to Stripe for sharing this guide on how to setup Apple Pay on the Web. You can follow their guide to set things up, but we did things in a slightly different order as it worked much better for us in testing and deploying.
Before you Begin:
Make sure that you have:
- A Mac running on Sierra
- An iPhone running on iOS 10 with a credit card in Wallet
- Handoff is enabled on your Mac and iPhone. For instructions, visit this page.
Step 1: Verify your domain
1a. Download this domain association file and host it at /.well-known/apple-developer-merchantid-domain-association on your website. For example, we hosted this at https://passkit.com/.well-known/apple-developer-merchantid-domain-association.
1b. Log in to your Stripe dashboard and go to the Apple Pay tab in ‘Account Settings’. Enter your live secret key in the Stripe.api_key field as shown below:
[php]
curl https://api.stripe.com/v1/apple_pay/domains \
-u sk_live_••••••••••••••••••••••••: \
-d domain_name="example.com"
[/php]
Upon success, you’ll see your domain listed.
Step 2: Set up the Apple Pay Sandbox
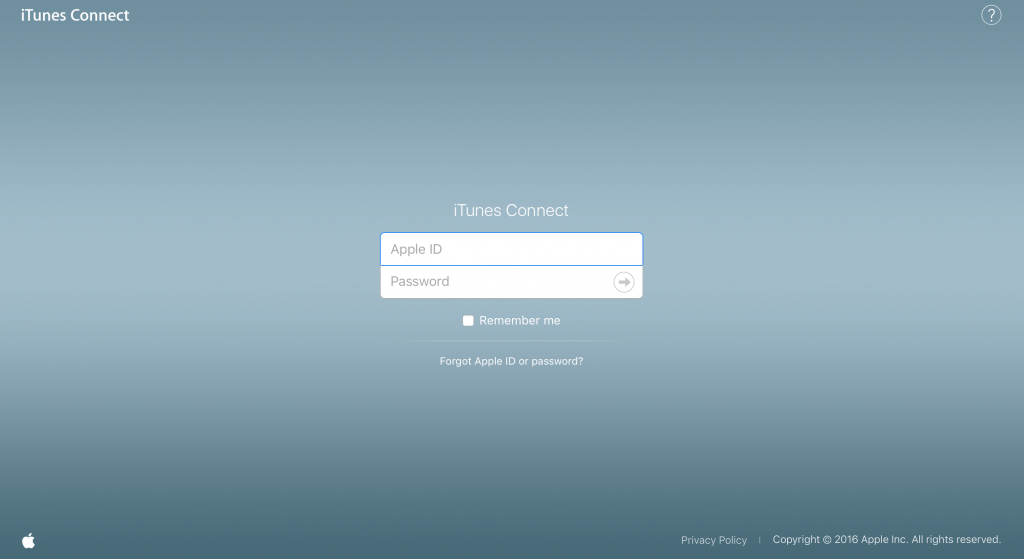
2a. Create an Apple developer account and log into iTunes Connect.
2b. Select ‘Users and Roles’ and select ‘Sandbox Testers’ link. Click + to create a new test user and save. You’ll be using this email and password to test on your iPhone.
2c. On your iPhone, open ‘Settings’ and select ‘iCloud’. Log in to iCloud using the test credentials you just created.
2d. Go back to ‘Settings’ and select ‘Wallet & Apple Pay’. Tap ‘Add Credit or Debit Card’ and enter in the following test Visa card details manually:
- Card number: 4761 1200 1000 0492
- Expiration: 11/2022
- CVV: 533
Step 3: Add an Apple Pay button to your website
3a. Add the following to your CSS code. This allows you to use Safari’s built-in Apple Pay images.
[css]
<style>
#apple-pay-button {
display: none;
background-color: black;
background-image: -webkit-named-image(apple-pay-logo-white);
background-size: 100% 100%;
background-origin: content-box;
background-repeat: no-repeat;
width: 100%;
height: 44px;
padding: 10px 0;
border-radius: 10px;
}
</style>
[/css]
3b. Add the following HTML on your product page where you want the button to appear.
[html]<button id="apple-pay-button"></button>[/html]
3c. Ensure that Stripe.js is included on this page.
[html]<script type="text/javascript" src="https://js.stripe.com/v2/"></script>[/html]
3d. Once you’ve set your publishable key, use the checkAvailability function to determine whether or not to show an Apple Pay button.
[js]
Stripe.setPublishableKey(‘pk_test_6pRNASCoBOKtIshFeQd4XMUh’);
Stripe.applePay.checkAvailability(function(available) {
if (available) {
document.getElementById(‘apple-pay-button’).style.display = ‘block’;
}
});
[/js]
Step 4: Start an Apple Pay Session
4a. Add this code in your product.js file to show the Apple Pay sheet when a user clicks on the payment button.
[js]document.getElementById(‘apple-pay-button’).addEventListener(‘click’, beginApplePay);[/js]
4b. Create a PaymentRequest object. Total, countryCode, and currencyCode properties are required. Apple uses a formatted string to present prices in total.amount (e.g. ‘29.99’).
[js]
function beginApplePay() {
var paymentRequest = {
countryCode: ‘US’,
currencyCode: ‘USD’,
total: {
label: ‘Stripe.com’,
amount: ‘29.99’
}
};
var session = …; // continued below
}
[/js]
4c. Use Stripe’s helper function buildSession to turn this payment request into an ApplePaySession. With the first argument, result, pass the Stripe token to your server and create a charge.
4d. Call the second parameter, completion, with ApplePaySession.STATUS_SUCCESS or ApplePaySession.STATUS_FAILURE depending on if your charge succeeded or failed.
Please refer to Stripe’s example here:
[js highlight=”7-13″]
function beginApplePay() {
var paymentRequest = …; // see above
var session = Stripe.applePay.buildSession(paymentRequest,
function(result, completion) {
$.post(‘/charges’, { token: result.token.id }).done(function() {
completion(ApplePaySession.STATUS_SUCCESS);
// You can now redirect the user to a receipt page, etc.
window.location.href = ‘/success.html’;
}).fail(function() {
completion(ApplePaySession.STATUS_FAILURE);
});
}, function(error) {
console.log(error.message);
});
session.begin();
}
[/js]
Note:
The highlighted section above is your backend. The function variable result has already been returned from Apple and gone through the Stripe backend to setup a token ID that can be used to create a Stripe charge or be attached to a customer.
4e. Call begin() to show users your Apple Pay payment sheet. Note: before calling session.begin() any other callbacks can be added here https://developer.apple.com/reference/applepayjs/#1778093. Stripe takes care of onpaymentauthorized and onvalidatemerchant but all the others can be used to customize the experience.
And that’s it! As mentioned previously, these were the steps we took to enable Apple Pay on the Web for our site that accepts Stripe payments. Please refer to the Apple Pay website and Stripe documentation for more information.


