Making customers come back as a primary goal
Let’s say you run a sandwich shop and you want to incentivise your customers to come visit you more often and buy more of your products, and you want to do it by giving them a small reward. However, you don’t want to apply any changes to your POS, and you don’t have a scanning system in place. What can you do in a similar situation?
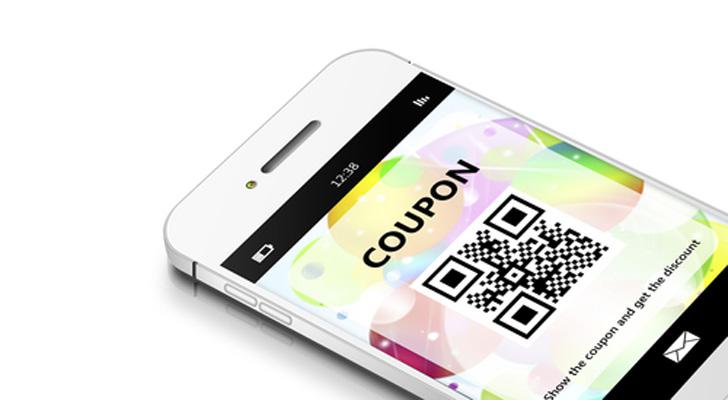
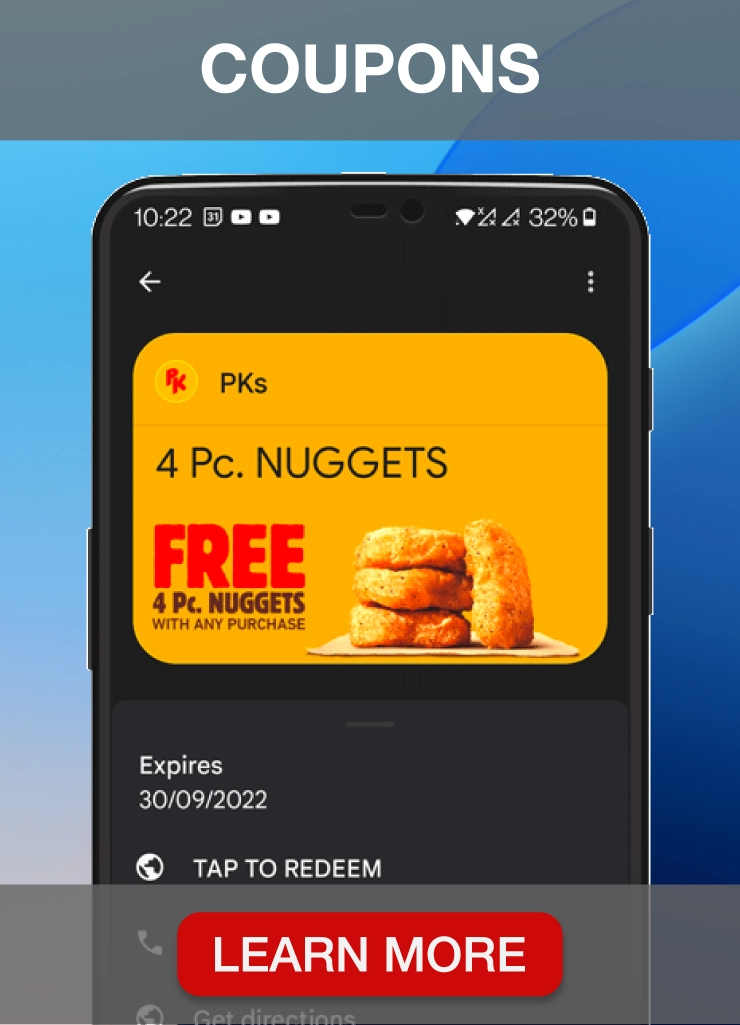
There are multiple options out there, however, one of the most common best practices is issuing coupons. Coupons are an easy way to give a small discount or reward to a customer that performs a specific action (eg. buy a certain product, spends a certain amount etc.). In this article we’ll focus on the creation and use of digital coupons.
NOTE: Please take a look at this video where our CEO Paul Tomes talks about regular paper and plastic coupons in comparison with digital coupons. You might also want to see what Forever Coupons are, and how they can significantly change your business.
How to create a Digital Coupon
Step 1
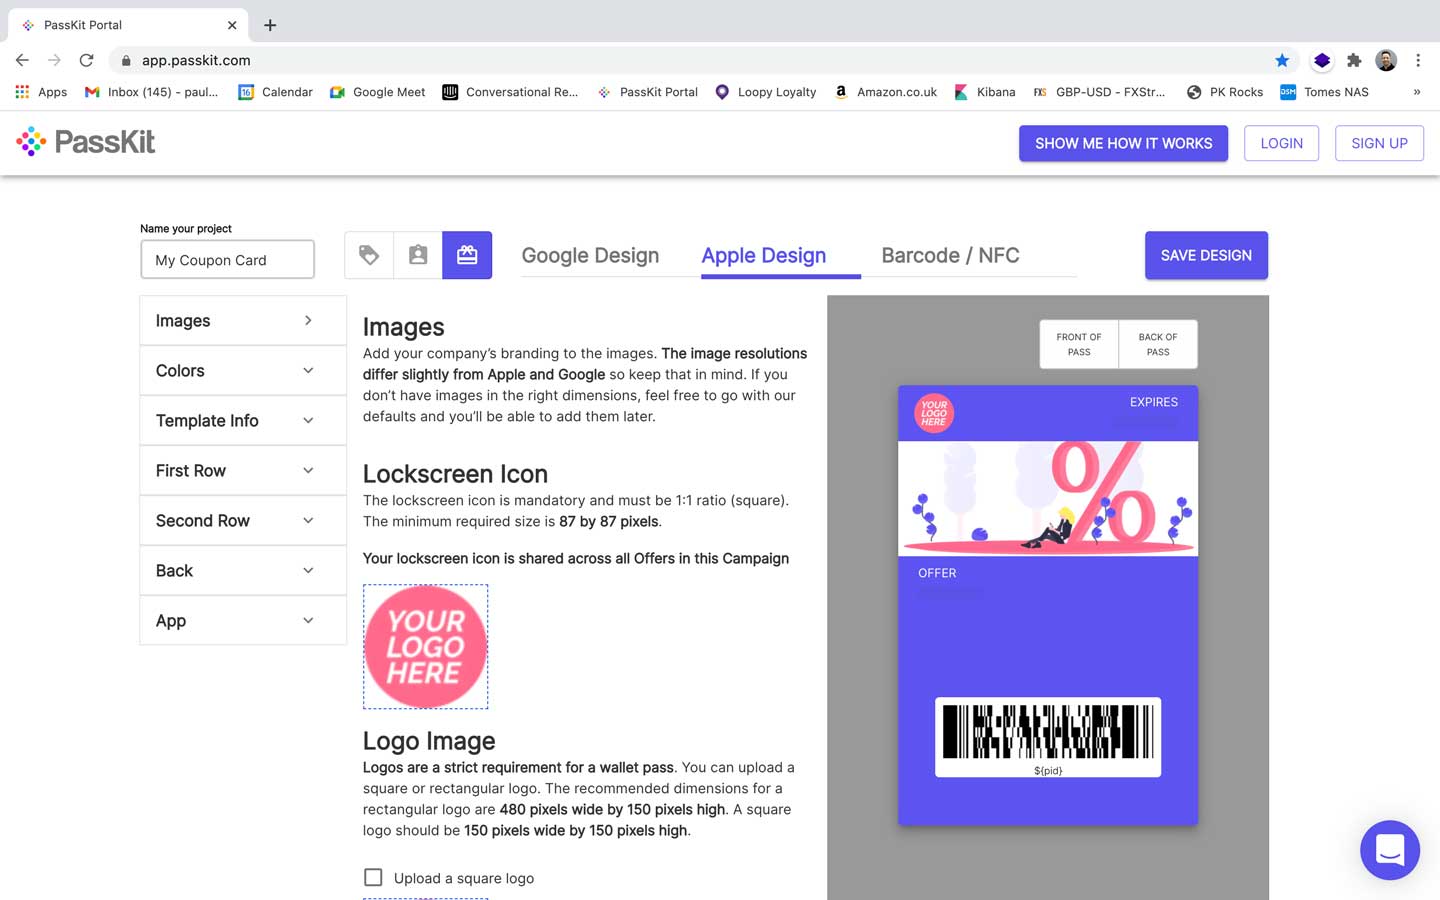
Visit the PassKit Portal
Step 2
Step 3
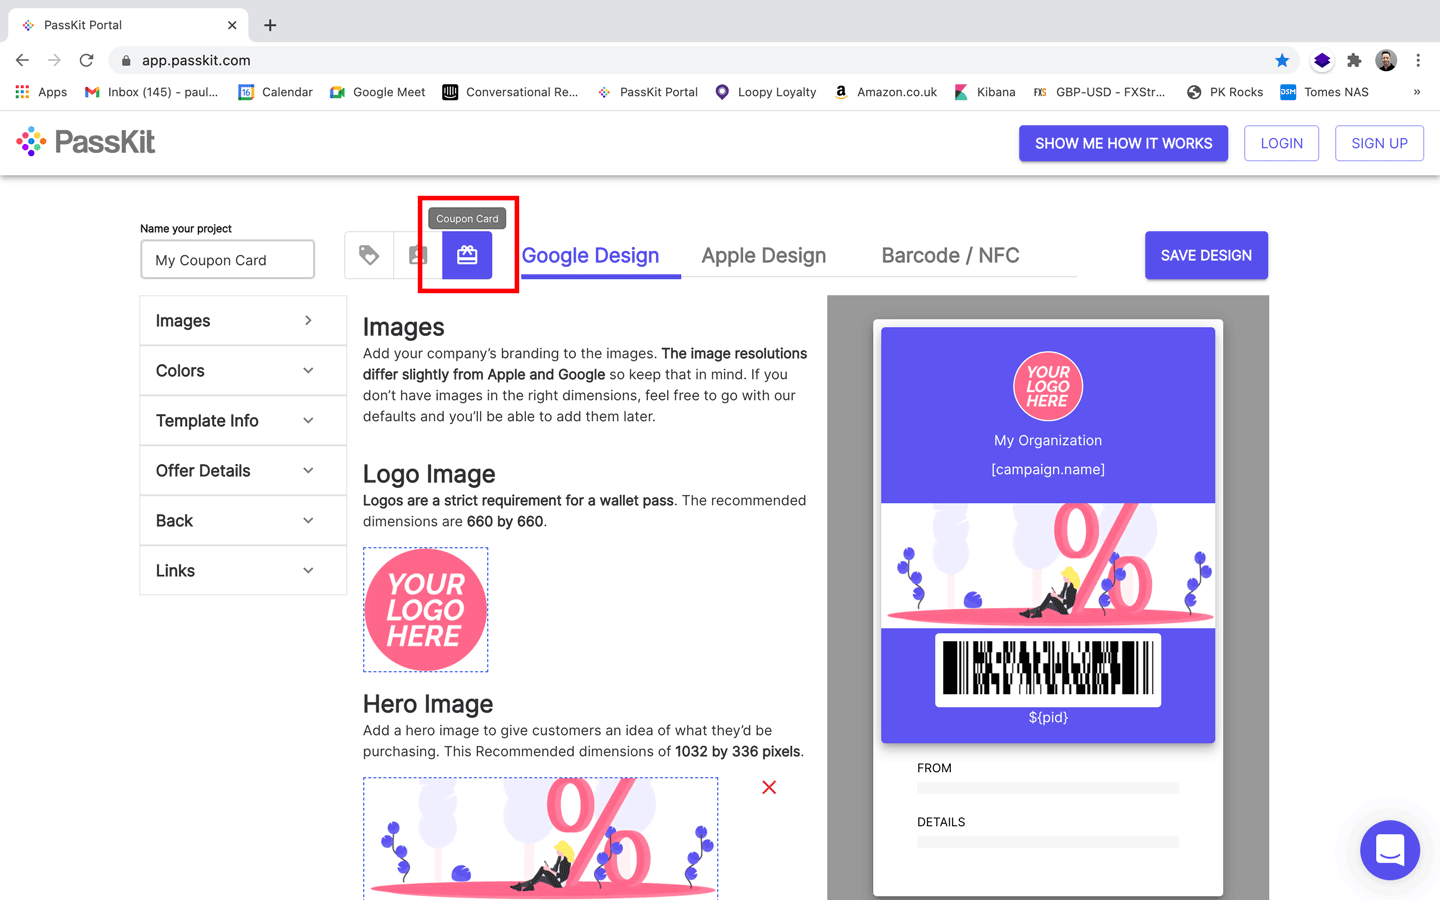
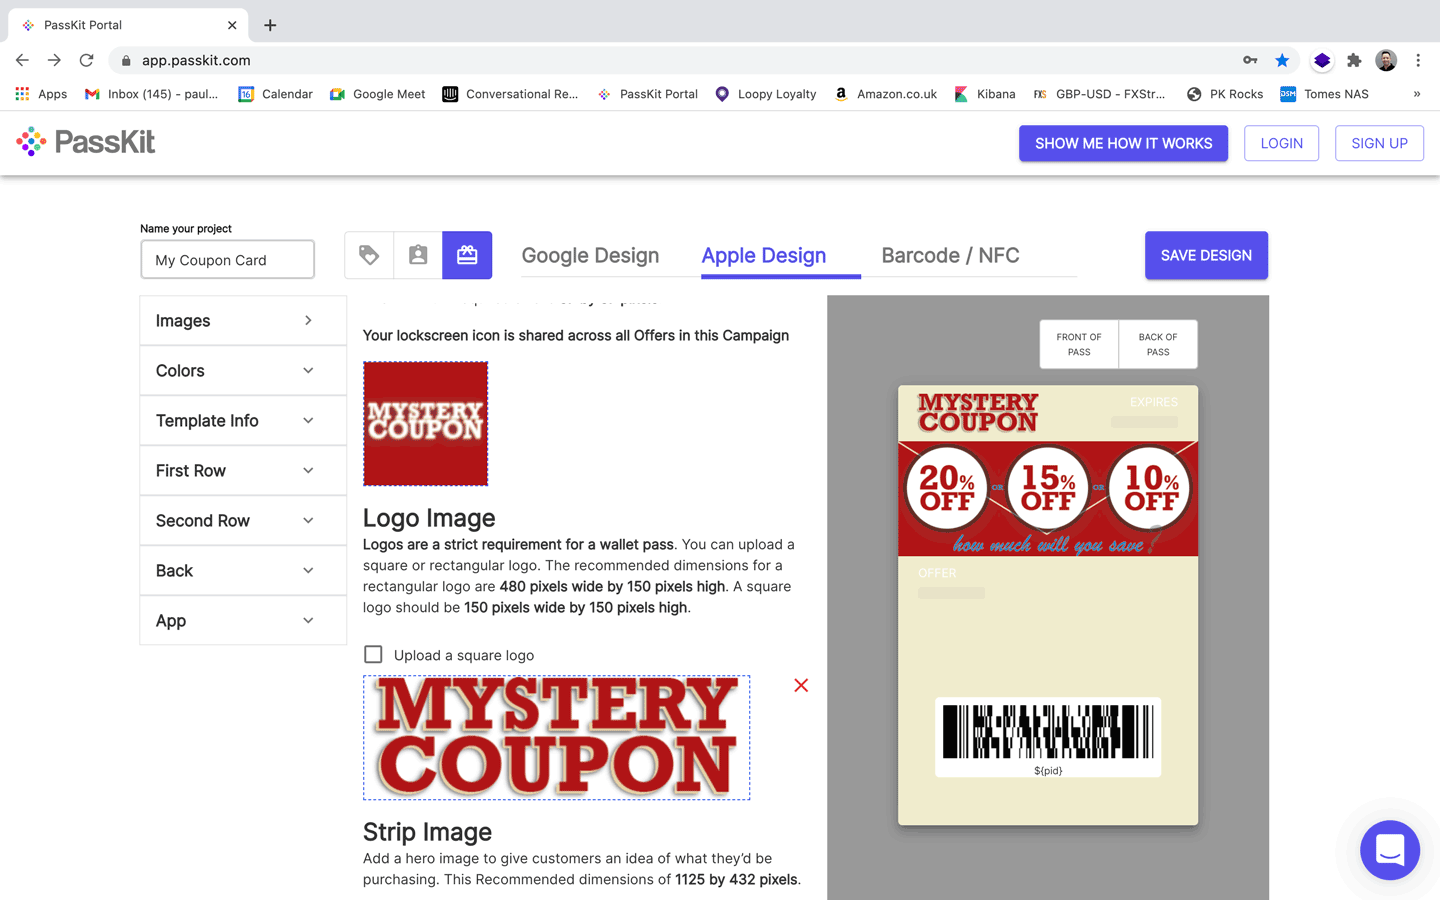
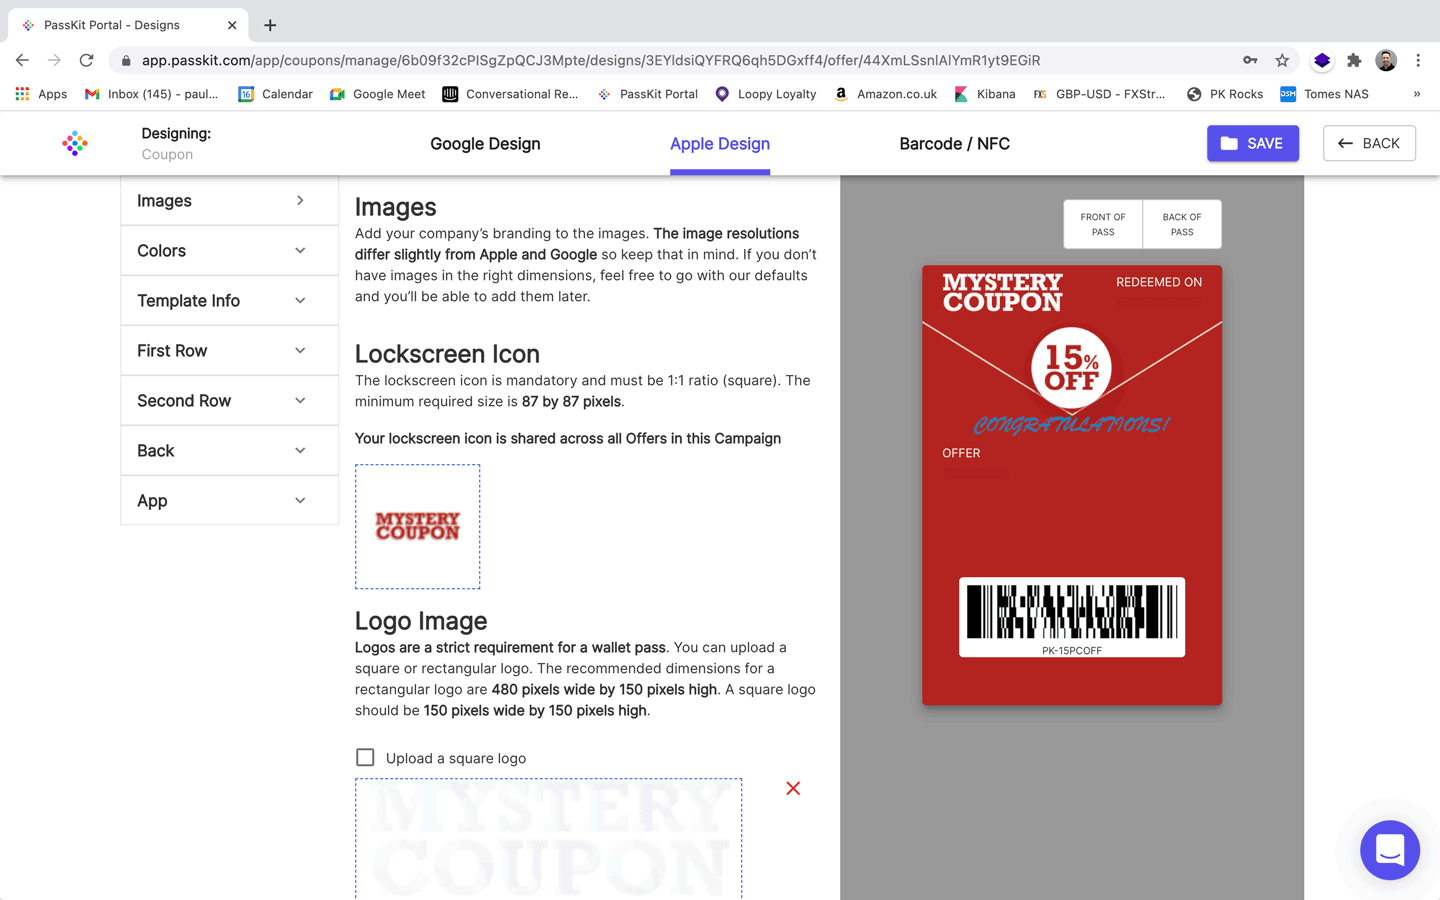
Upload your images for both the Google and Apple Design. Best to use images with the exact dimensions recommended, but if not still upload and choose how to crop them. At this stage, the colors will be automatically selected from the hero image. If you want to specify the color of the pass adjust the via the ‘Colors’ menu. (Very useful if you have brand guidelines).
Step 4
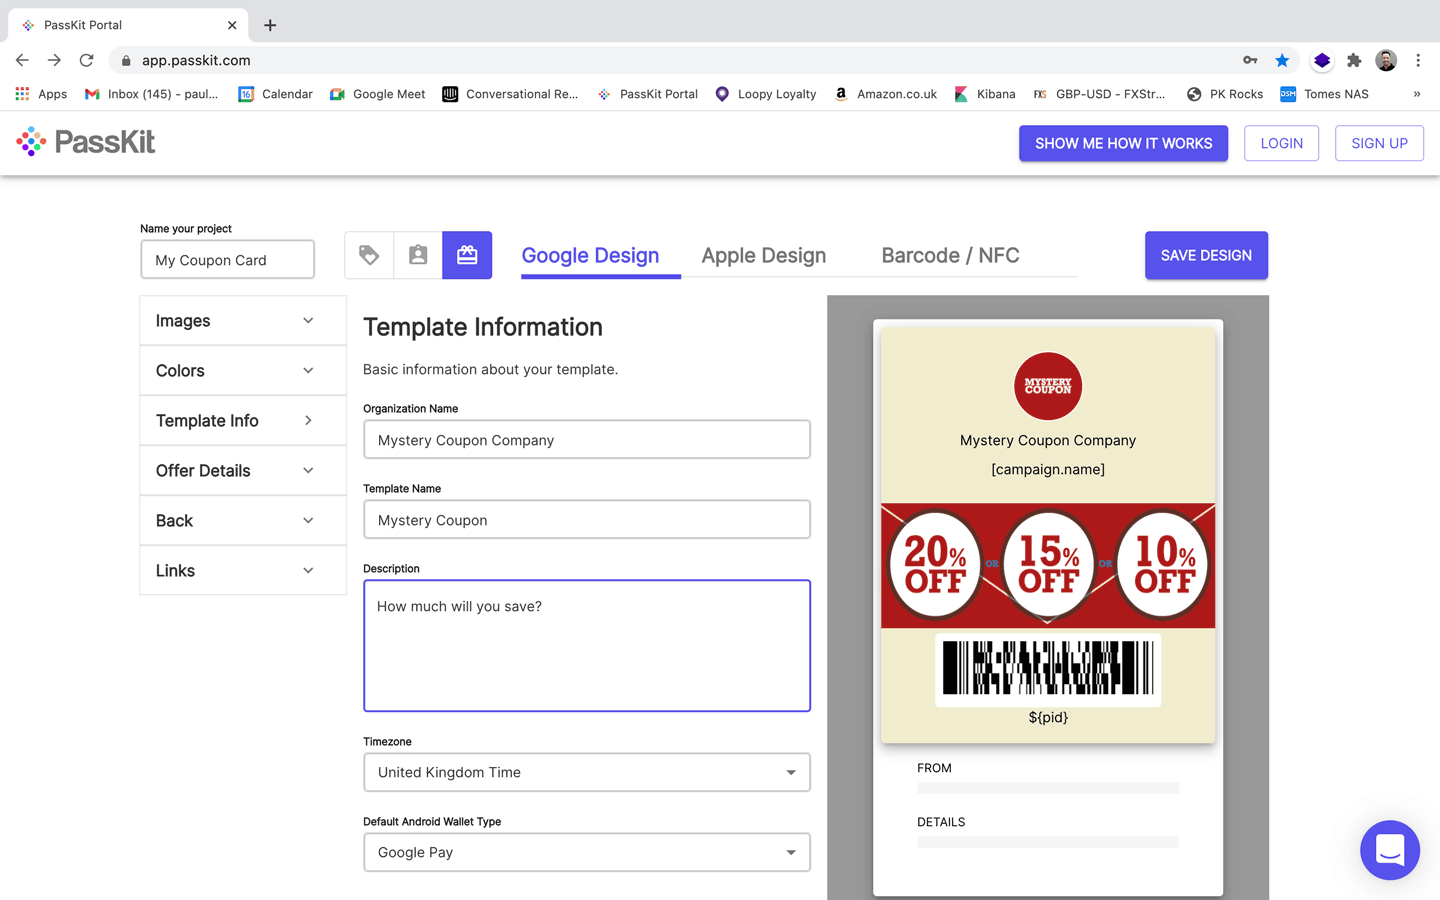
Now fill the detail about your coupon campaign (Template Info).
Step 5
Next, choose what information you want to display on the digital coupon. Keep checking between Google Design and Apple Design so you can see how it will look in Android and iOS devices.
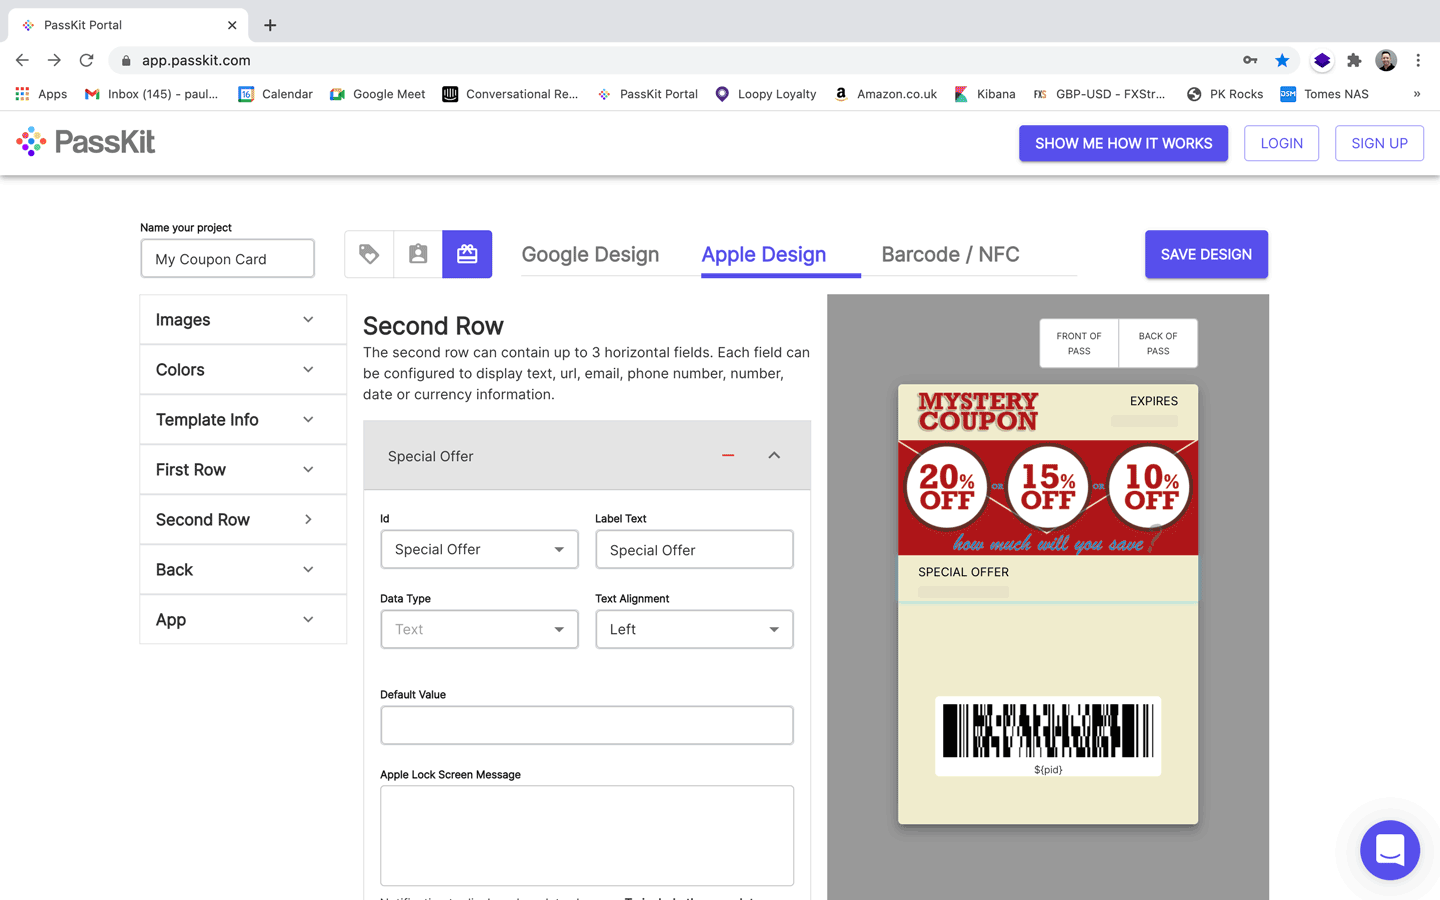
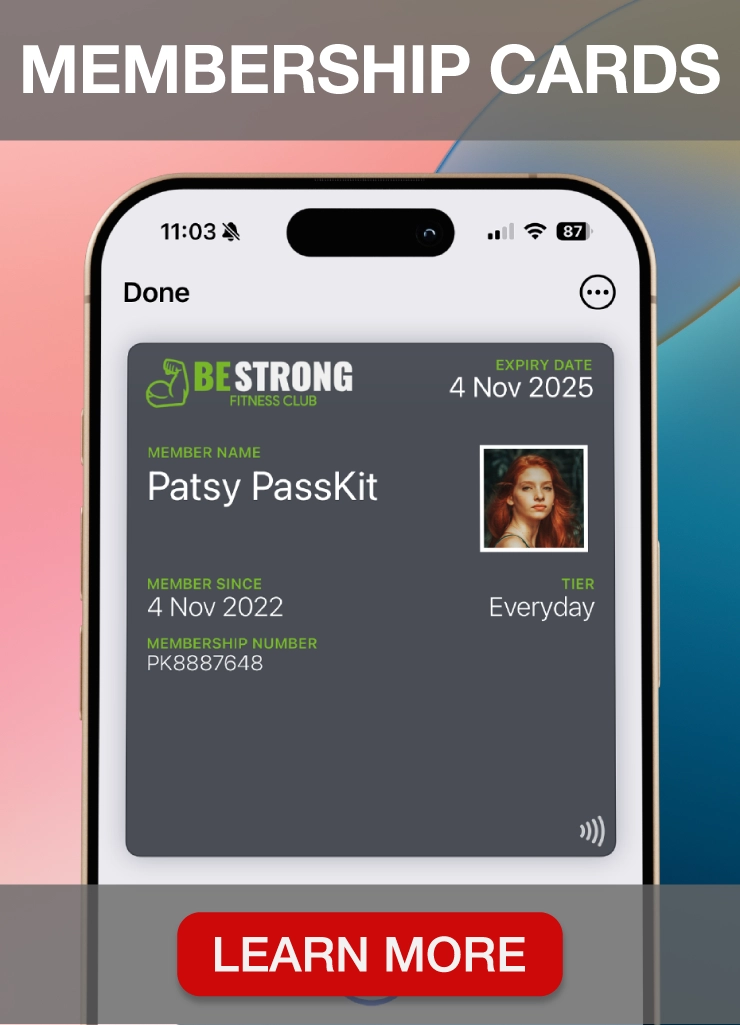
There is a significant amount of things you can build and design in this section. We recommend taking a look at How To Create a Digital Membership Card for Mobile Wallet. The article covers all the features that can be enabled on digital coupons as well.
Step 6
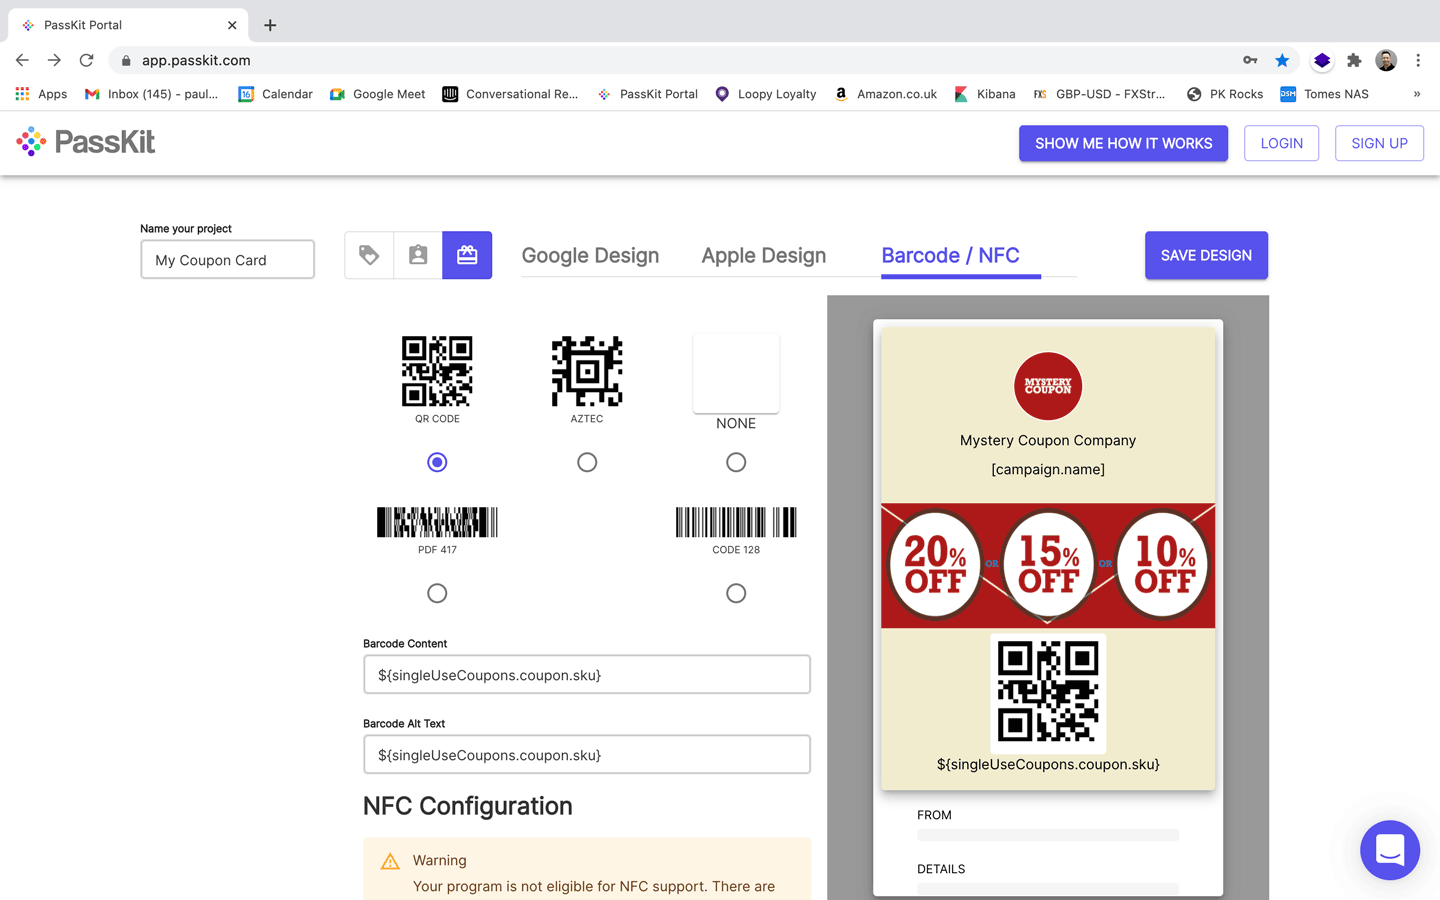
Once you are done with the design of the card choose the format of the barcode. A barcode is useful if your Point of Sale can scan barcodes and automatically apply a coupon discount. But a barcode is not mandatory choose None).
Step 7
If you are happy with the design so far, you can save it and create a free PassKit account.

Step 8
**** SUPER COOL FEATURE ****
You can now change how the coupon looks after it’s been redeemed. Unlike a paper or email coupon. – whIch are static and cannot be change once handed out – you now have the option to change how the coupon looks like when it’s been used.
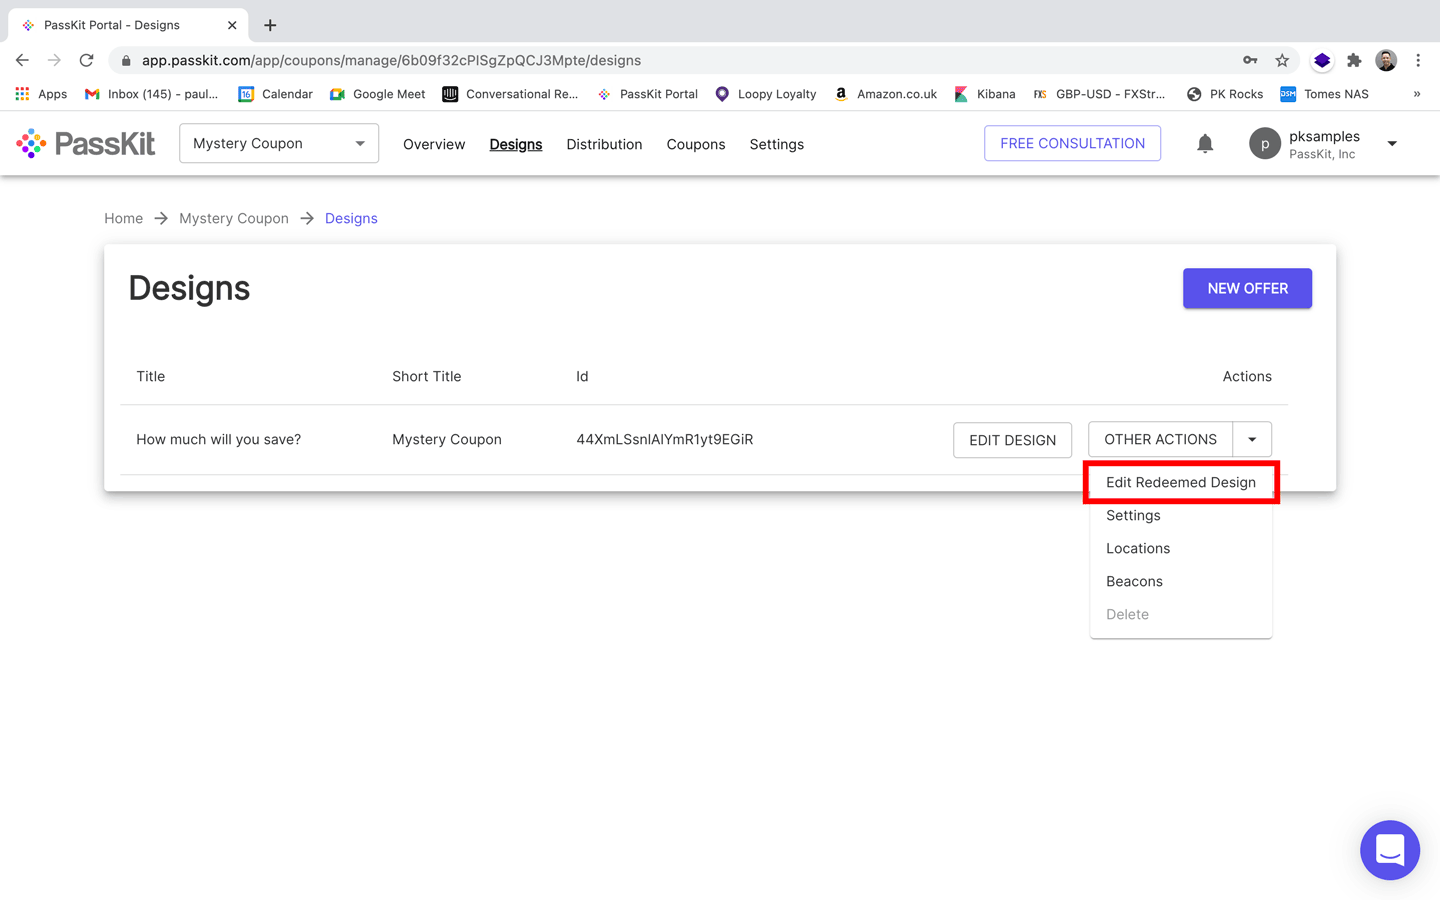
Once your digital coupon is designed, you can also enable proximity location features, including GPS and Bluetooth Beacons.
Step 9
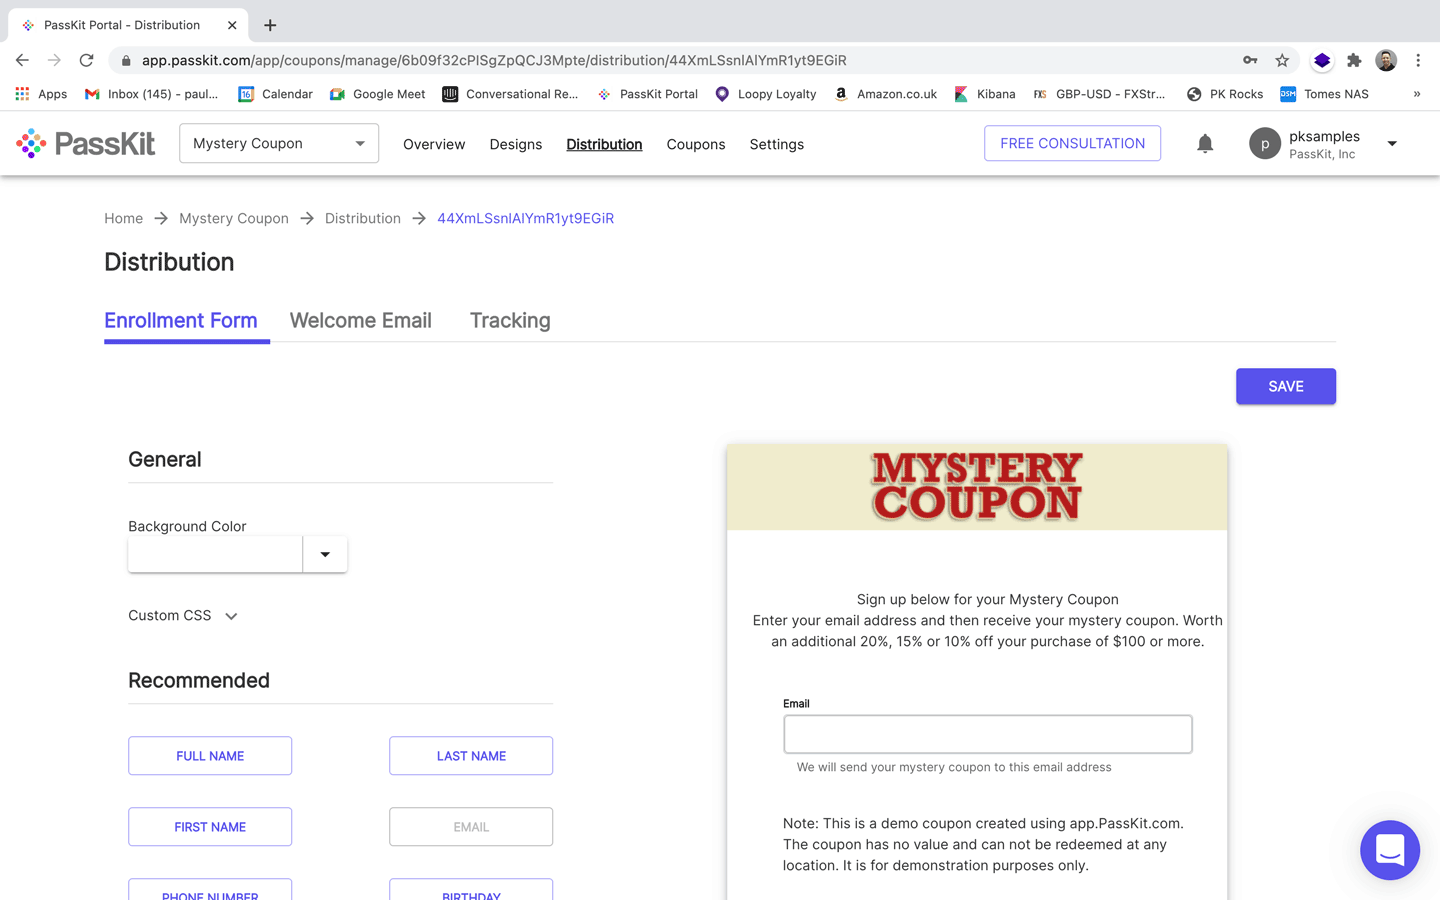
Design the distribution and enrollment assets and then you can start promoting your digital coupon.
Digital coupon examples
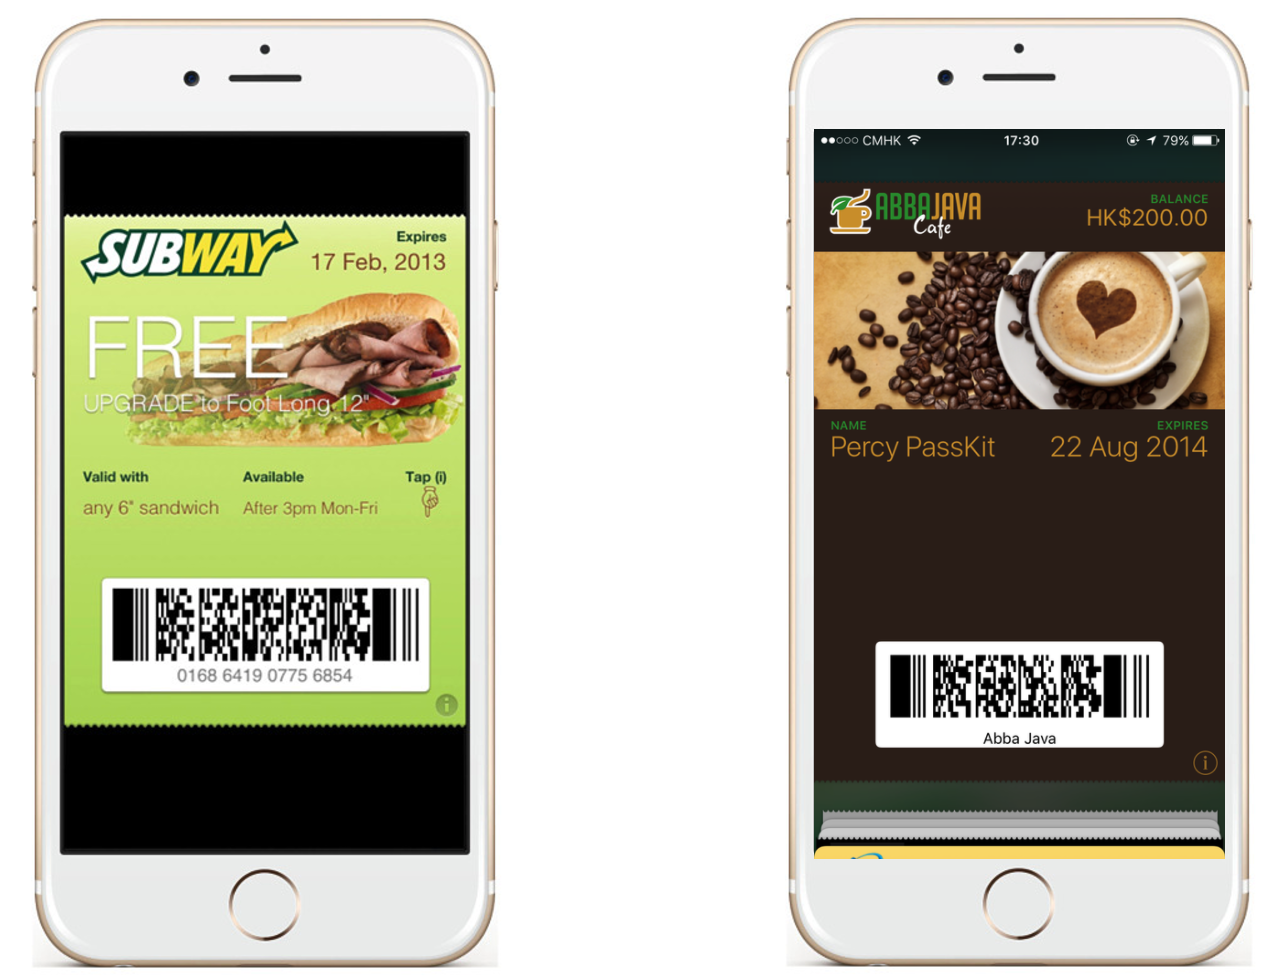
In the image below you can find two examples of possible designs for digital coupons:
- One is from Subway. Please Click here to read the full Subway case study.
- The second one is a made up example for demo purposes.
How to redeem digital coupons without a scanning system in place
One question comes natural at this stage: how can you redeem rewards and track the performance of your campaign or offer? Well, there are several redemption methods you could choose from, however, if you are not using a scanner and do not want to apply major changes to your till/POS, you then have two options: visual redemption and self redemption. Let’s take a look at both methods.
1) Visual Redemption of Digital Coupons
a. How does it work?
- The customer presents their pass on checkout at the POS.
- Sales Associate or cashier visually acknowledges the pass (eg. verify colour, picture, name, code, etc).
- Sales Associate applies the benefits, and continues with the checkout.
b. When is visual redemption suitable?
- When offers and coupons have low value (ex. a free cookie).
- Low data integrity.
- When zero technical integration is required.
c. What data is captured and what is the cost?
- No specific data is captured. However, cashiers can be trained to manually record transactions that are made through the coupon.
- No additional implementation or hosting cost involved.
d. What are the PRO’s and CON’s of visual redemption?
Visual redemption is characterised by the following PROs:
- Minimal change to existing processes.
- Zero integration – minimal cost on implementation and training. Sales Associate applies the benefits, and continues with the checkout.
- Speed to market is extremely fast. This type of coupon can be up and running in a few hours.
CONs of the visual redemption:
- Data is hard to capture.
- Very low integrity of data – There is no validation with an actual database.
- Increased risk on fraud (eg. people using the same coupon twice). That is the reason why it’s good practice to use these coupons for low value offers.
2) Self-redemption of digital coupons
a. How does it work?
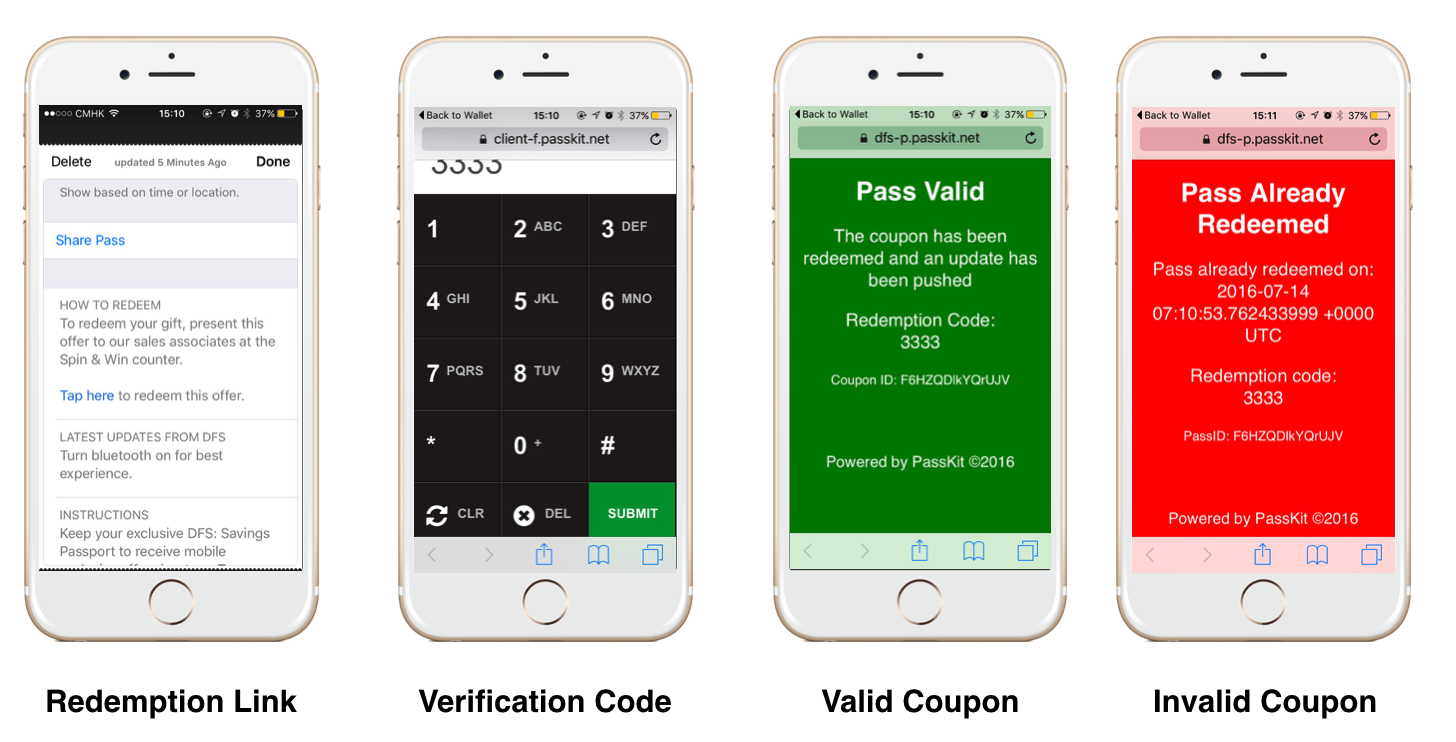
- Customer taps a link on the back of their pass upon checkout at the POS.
- Customer arrives at a landing page which prompts the customer to key in a verification/redemption code.
- Sales associate provides the customer with the verification code.
- Customer keys in the verification code on the landing page, and taps ‘Redeem’.
- The landing page shows either a green (on success) – or red (on failure) screen with a redemption code & timestamp.
- The customer presents the phone to the Sales Associate.
- Sales Associate applies the benefit (if entitled) and continues with the transaction. If required, the Sales Associate can key the redemption code into the POS against the transaction record.
Here’s an image that shows the redemption process with the two possible outcomes:
b. When is self-redemption suitable?
- With offers and coupons with medium-low value.
- When wanting to validate offers in real-time.
- When wanting to capture redemption data with minimal technical integration.
c. What data is captured and what is the cost?
- It is possible to capture the time when the redemption link is clicked, and the outcome of the redemption. Other data can be collected, such as the browser and OS used. If the merchant decides to add the redemption-code into the transaction record in POS, then the redemption and transaction record data can be mapped by the merchant.
- Additional implementation cost if customisation to the redemption pages is required. Additional monthly hosting fee if redemption pages need to be hosted.
d. What are the PRO’s and CON’s of self-redemption?
Self-redemption is characterised by the following PROs:
- Direct redemption and validation without any integration work with the merchant POS/systems.
- Capture redemption data, and map this to the transaction record.
- Speed to market is fast.
CONs of the self-redemption:
- Customer needs to be connected to the internet to get the real-time updates.
- Checkout becomes more complicated as the redemption process ‘stands in the customer’s hands’.
- Additional staff training on the process. Risk of staff not executing the process properly.
- The process is safer than visual redemption, but there’s still room for fraud, since the redemption happens on the customers phone. The Sales Associate is not in full control of the process.
So, how do I get started with digital coupons?
It is very easy to get started with digital coupons. You can actually create your coupon campaign in minutes through the PassKit Portal. However, if you have any question or doubt please feel free to leave a comment in the comment section below, or get in touch with us here.
