Important Note: CherryPie is no longer supported.
PassKit released the all new PassKit Platform in early 2020. This platform incorporates decades of experience designing, developing and implementing world class mobile wallet solutions for some of the biggest international brands. And at the same time, working with small businesses all over the world to help them access the cool capabilities of Apple Wallet and Google Pay passes. We have combined these rich learnings, proven best practices and ever growing knowledge, to deliver you the very best mobile wallet management platform. A platform where you can extend your mobile reach by quickly integrating Apple Wallet and Google Pay Passes into your business. Into your processes. Into your systems. And most importantly into your customer experience.
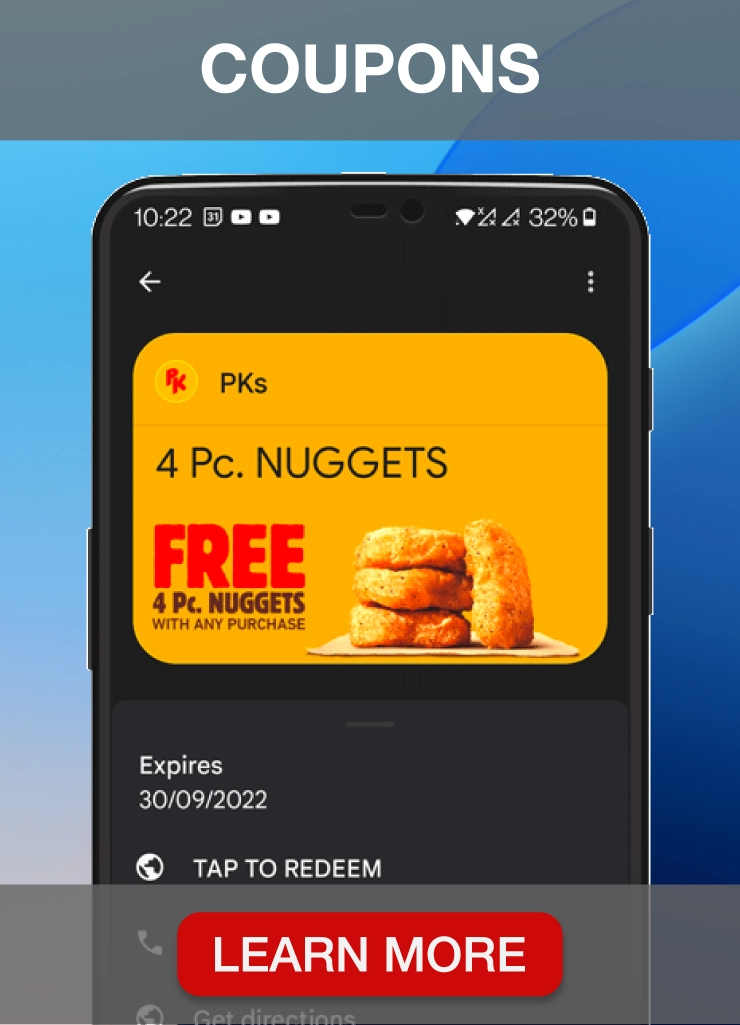
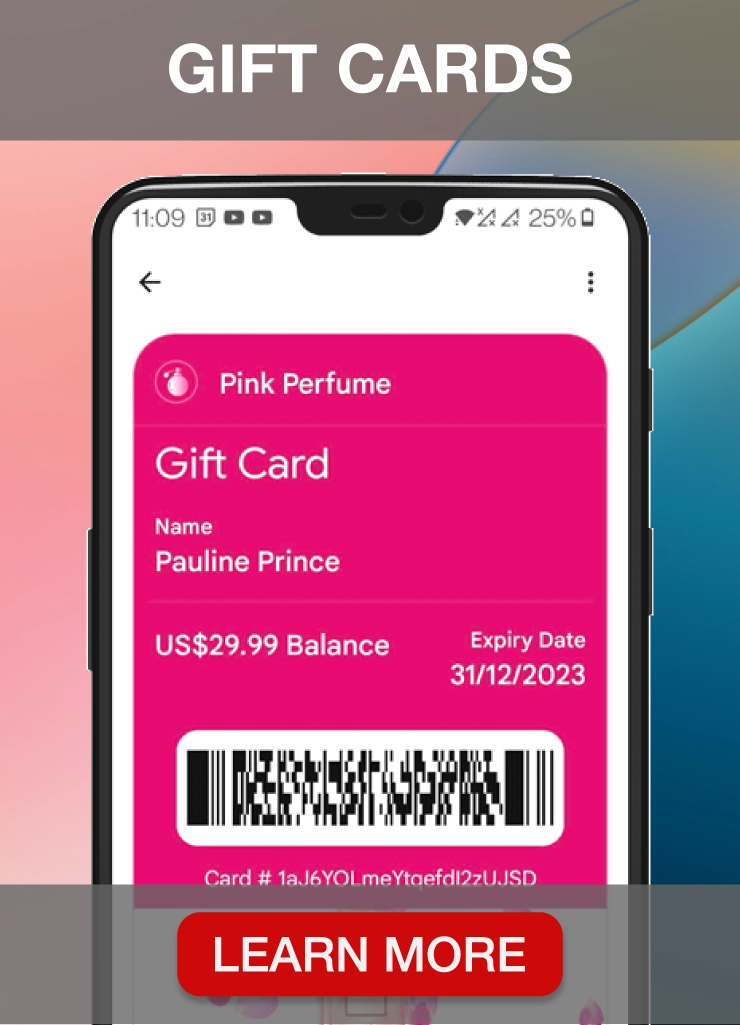
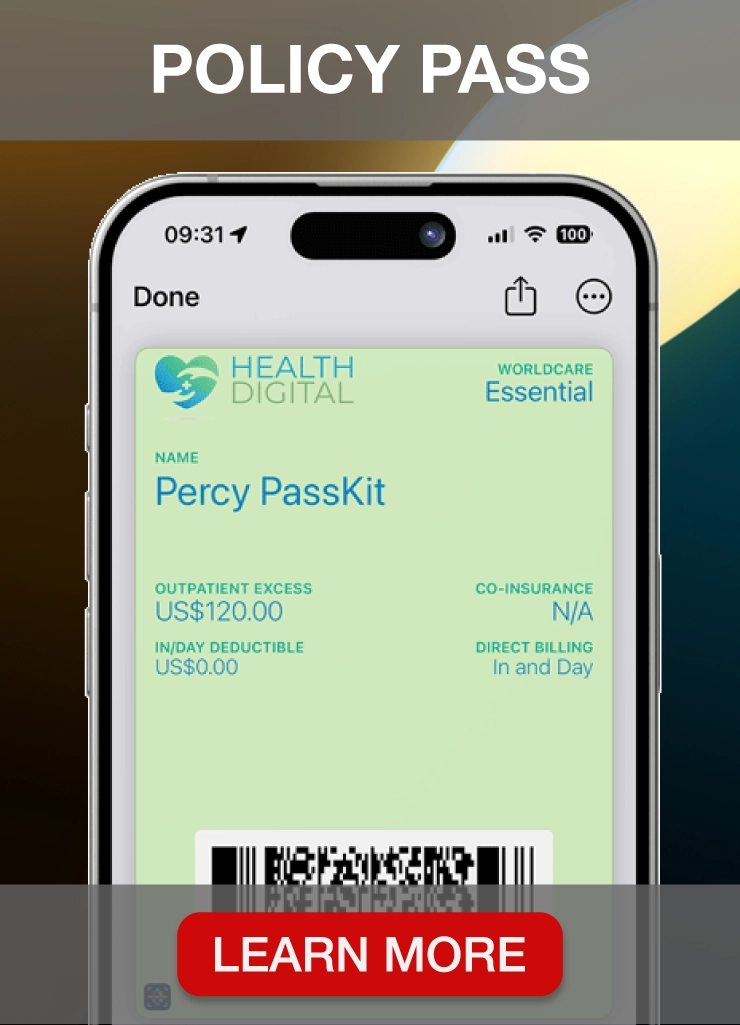
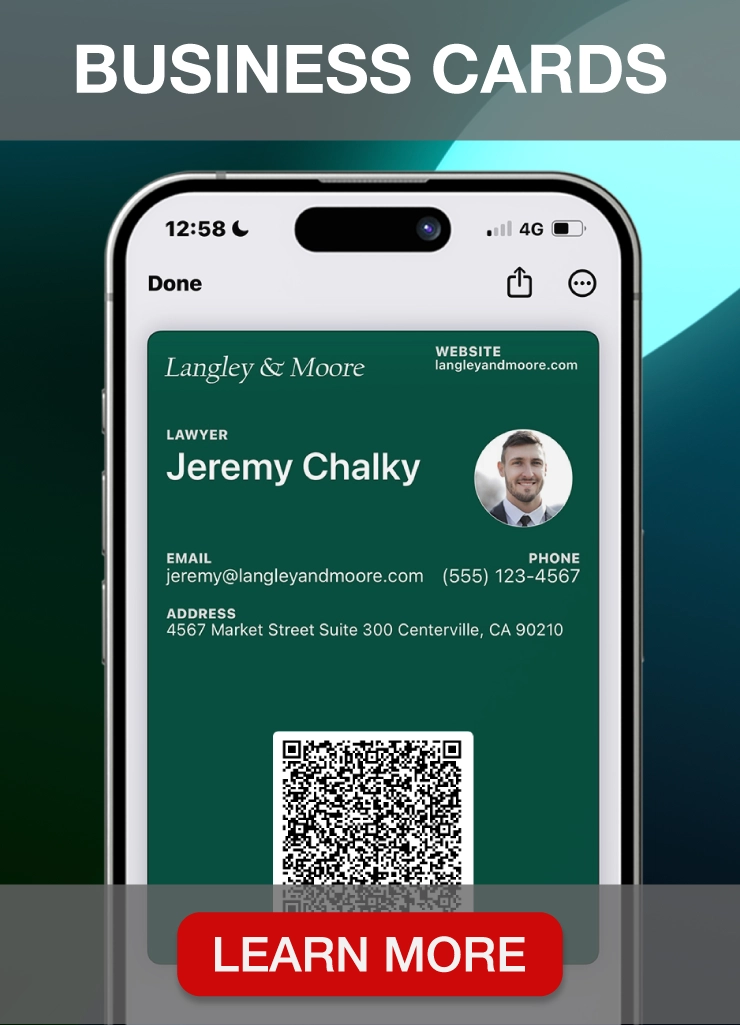
PassKit now delivers dedicated modules to solve your specific business use cases. No longer do you need to waste time learning about ‘passes’ language. No longer do you need to study mobile wallet terminology. You now work with Mobile Wallet API’s designed around your business processes; your language. A language you are already familiar with. The latest platform currently covers:
TRY THE NEW PASSKIT PLATFORM FOR FREE – UNLIMITED TEST PASSES
And check our the latest Getting Started Guides.
—
We’re all familiar with the standard plastic membership card. It’s probably got your membership number, your name, and maybe an image of yourself – very standard, and very 1990’s.
With the introduction of mobile wallet (i.e. Apple Wallet, Android Pay, WeChat Wallet), you can now use these channels as a way to transition from plastic to digital. And with that transition unlocks a new way of engagement with members/customers. Cool things like push updates, beacon alerts, and more.
This post will show you how to create digital membership cards for your business, association, organization, and more.
Note: If you’re looking to create digital loyalty cards or digital stamp cards, check out LoopyLoyalty.com instead.
Whether you want to transition from physical membership cards to digital ones, or if you want to create a new membership program, we’ll show you how to set things up using CherryPie.
This post has been broken down into 6 parts:
1. Setting up your CRM
2. Designing your Membership Card
3. Creating your Campaign
4. Distributing your Membership Card
5. The Customer Experience
6. Capturing Data in the CherryPie CRM
Let’s get started!
Part 1: Setting up your CRM
1. Log in to CherryPie.
![How to Create Digital Membership Cards for Mobile Wallet [Full Guide] 1 login-to-cherrypie](https://dxjl3qy52c1o9.cloudfront.net/wp-content/uploads/2016/03/07021347/login-to-cherrypie-1024x525.png)
2. Create a new client (click on Clients in the menu) or select a client from the dropdown in the top right. All campaigns, offers, and the CRM are separated based on client so make sure that you are working in the right client panel before continuing.
![How to Create Digital Membership Cards for Mobile Wallet [Full Guide] 2 create-client](https://dxjl3qy52c1o9.cloudfront.net/wp-content/uploads/2016/03/09100937/create-client-1024x566.png)
![How to Create Digital Membership Cards for Mobile Wallet [Full Guide] 3 Screen Shot 2016-03-07 at 10.34.17 AM](https://dxjl3qy52c1o9.cloudfront.net/wp-content/uploads/2016/03/07023435/Screen-Shot-2016-03-07-at-10.34.17-AM.png)
3. Click on CRM in the menu and then click on the red ‘Create Contact List’ button.
![How to Create Digital Membership Cards for Mobile Wallet [Full Guide] 4 Screen Shot 2016-03-01 at 3.20.23 PM](https://dxjl3qy52c1o9.cloudfront.net/wp-content/uploads/2016/03/07023525/Screen-Shot-2016-03-01-at-3.20.23-PM-1024x384.png)
4. Give your contact list a name.
![How to Create Digital Membership Cards for Mobile Wallet [Full Guide] 5 Screen Shot 2016-03-09 at 4.10.32 PM](https://dxjl3qy52c1o9.cloudfront.net/wp-content/uploads/2016/03/09101024/Screen-Shot-2016-03-09-at-4.10.32-PM-1024x567.png)
5a. Create and upload a CSV of your list of members (with headings at the top). In this example, we know their first name, last name, and email. Important: Make sure that there are no spaces between words in the header. For example, use FirstName instead of First Name. Please ensure that the email addresses you upload are valid and those users have opted in to receive content from you.
![How to Create Digital Membership Cards for Mobile Wallet [Full Guide] 6 Screen Shot 2016-03-09 at 6.11.23 PM](https://dxjl3qy52c1o9.cloudfront.net/wp-content/uploads/2016/03/09101137/Screen-Shot-2016-03-09-at-6.11.23-PM.png)
5b. If you don’t have any existing members and want to launch a new membership program, upload a CSV with the header fields of you want to collect.
![How to Create Digital Membership Cards for Mobile Wallet [Full Guide] 7 Screen Shot 2016-03-10 at 2.27.48 PM](https://dxjl3qy52c1o9.cloudfront.net/wp-content/uploads/2016/03/10063045/Screen-Shot-2016-03-10-at-2.27.48-PM.png)
6. Select a unique field (i.e. email). Selecting a unique field will ensure that you don’t have any duplicates in your contact list and all activity (i.e. number of passes active, events, information) is associated with that one contact. This is optional but recommended.
![How to Create Digital Membership Cards for Mobile Wallet [Full Guide] 8 Screen Shot 2016-03-10 at 2.34.19 PM](https://dxjl3qy52c1o9.cloudfront.net/wp-content/uploads/2016/03/10063436/Screen-Shot-2016-03-10-at-2.34.19-PM.png)
Part 2: Designing your Membership Card
1. Click on the Offers tab in the menu and click on the red ‘New Offer’ button.
![How to Create Digital Membership Cards for Mobile Wallet [Full Guide] 9 Screen Shot 2016-03-09 at 4.15.18 PM](https://dxjl3qy52c1o9.cloudfront.net/wp-content/uploads/2016/03/10024119/Screen-Shot-2016-03-09-at-4.15.18-PM-1024x566.png)
2. Fill in the Offer Information.
![How to Create Digital Membership Cards for Mobile Wallet [Full Guide] 10 Screen Shot 2016-03-09 at 4.16.26 PM](https://dxjl3qy52c1o9.cloudfront.net/wp-content/uploads/2016/03/10024154/Screen-Shot-2016-03-09-at-4.16.26-PM-1024x566.png)
3. Click on the ‘Design’ tab and select the ‘Membership Card’ template. Change the colors to reflect your brand, and upload a logo & icon image.
![How to Create Digital Membership Cards for Mobile Wallet [Full Guide] 11 Screen Shot 2016-03-10 at 11.00.23 AM](https://dxjl3qy52c1o9.cloudfront.net/wp-content/uploads/2016/03/10030038/Screen-Shot-2016-03-10-at-11.00.23-AM.png)
4. Select the thumbnail image by clicking on the square space on the pass.
![How to Create Digital Membership Cards for Mobile Wallet [Full Guide] 12 Screen Shot 2016-03-10 at 11.02.08 AM](https://dxjl3qy52c1o9.cloudfront.net/wp-content/uploads/2016/03/10030242/Screen-Shot-2016-03-10-at-11.02.08-AM.png)
5. Tick the box ‘Make as Dynamic’ and ‘Allow user to upload image’. In this example, we want members to upload their own image to create their personalized membership card.
![How to Create Digital Membership Cards for Mobile Wallet [Full Guide] 13 Screen Shot 2016-03-09 at 4.25.48 PM](https://dxjl3qy52c1o9.cloudfront.net/wp-content/uploads/2016/03/10030324/Screen-Shot-2016-03-09-at-4.25.48-PM-1024x567.png)
6a. Add text fields to the front of your membership card. In this example, we want to display their first and last name on the front of the pass. Therefore, we’ll use the shortcode #{FirstName} and #{LastName}. This will take what’s in your CSV and display it on the pass when you send it to your customers via email with CherryPie.
![How to Create Digital Membership Cards for Mobile Wallet [Full Guide] 14 Screen Shot 2016-03-09 at 4.24.45 PM](https://dxjl3qy52c1o9.cloudfront.net/wp-content/uploads/2016/03/10024813/Screen-Shot-2016-03-09-at-4.24.45-PM-1024x566.png)
6b. If you want to collect customer information or want your members to fill in their details, simply use the shortcode ${FirstName} instead. The $ means that you want customers to input the value. The # will take the value from your CRM.
![How to Create Digital Membership Cards for Mobile Wallet [Full Guide] 15 Screen Shot 2016-03-09 at 4.25.27 PM](https://dxjl3qy52c1o9.cloudfront.net/wp-content/uploads/2016/03/10062443/Screen-Shot-2016-03-09-at-4.25.27-PM-1024x567.png)
7a. You can also choose to display information on the back of the pass.
![How to Create Digital Membership Cards for Mobile Wallet [Full Guide] 16 Screen Shot 2016-03-09 at 4.27.59 PM](https://dxjl3qy52c1o9.cloudfront.net/wp-content/uploads/2016/03/10025959/Screen-Shot-2016-03-09-at-4.27.59-PM-1024x565.png)
7b. Important: If you don’t have any members’ emails and you had selected email as the unique field in your CRM, make sure you add this field to the pass so that you can collect this information. Use the shortcode ${email}.
![How to Create Digital Membership Cards for Mobile Wallet [Full Guide] 17 Screen Shot 2016-03-10 at 2.51.47 PM](https://dxjl3qy52c1o9.cloudfront.net/wp-content/uploads/2016/03/10065207/Screen-Shot-2016-03-10-at-2.51.47-PM.png)
8. Add any relevant locations and beacons to your membership card, which will trigger a lockscreen message when members are in that location or near your beacon. For more information on how to add locations and beacons, check out this guide.
![How to Create Digital Membership Cards for Mobile Wallet [Full Guide] 18 Screen Shot 2016-03-10 at 11.19.32 AM](https://dxjl3qy52c1o9.cloudfront.net/wp-content/uploads/2016/03/10031948/Screen-Shot-2016-03-10-at-11.19.32-AM-1024x566.png)
9. Save your membership card and mark it as ready.
![How to Create Digital Membership Cards for Mobile Wallet [Full Guide] 19 Screen Shot 2016-03-09 at 4.29.54 PM](https://dxjl3qy52c1o9.cloudfront.net/wp-content/uploads/2016/03/10031813/Screen-Shot-2016-03-09-at-4.29.54-PM-1024x564.png)
Part 3: Creating your Campaign
1. Click on the Campaign tab in the menu and click on the red ‘Create Campaign’ button.
![How to Create Digital Membership Cards for Mobile Wallet [Full Guide] 20 Screen Shot 2016-03-09 at 4.30.49 PM](https://dxjl3qy52c1o9.cloudfront.net/wp-content/uploads/2016/03/10032626/Screen-Shot-2016-03-09-at-4.30.49-PM-1024x565.png)
2. Select the membership card template you just created by clicking on the green plus button.
![How to Create Digital Membership Cards for Mobile Wallet [Full Guide] 21 Screen Shot 2016-03-09 at 4.30.59 PM](https://dxjl3qy52c1o9.cloudfront.net/wp-content/uploads/2016/03/10032724/Screen-Shot-2016-03-09-at-4.30.59-PM-1024x566.png)
![How to Create Digital Membership Cards for Mobile Wallet [Full Guide] 22 Screen Shot 2016-03-09 at 4.31.06 PM](https://dxjl3qy52c1o9.cloudfront.net/wp-content/uploads/2016/03/10032732/Screen-Shot-2016-03-09-at-4.31.06-PM-1024x564.png)
3a. Fill in your campaign details and under the ‘Acquire Contacts’ field, select the contact list you created previously. This is important, especially if you don’t have any existing members, because all of the data that you collect will then be stored in this contact list in your CRM.
![How to Create Digital Membership Cards for Mobile Wallet [Full Guide] 23 Screen Shot 2016-03-09 at 4.32.12 PM](https://dxjl3qy52c1o9.cloudfront.net/wp-content/uploads/2016/03/10032836/Screen-Shot-2016-03-09-at-4.32.12-PM-1024x566.png)
4. On the ‘Landing Page Design’ tab, select a strip image and icon image to be displayed on your membership card landing page. (Click here for the full guide on how to create a mobile wallet campaign with CherryPie)
![How to Create Digital Membership Cards for Mobile Wallet [Full Guide] 24 Screen Shot 2016-03-09 at 4.32.55 PM](https://dxjl3qy52c1o9.cloudfront.net/wp-content/uploads/2016/03/10032959/Screen-Shot-2016-03-09-at-4.32.55-PM-1024x564.png)
5. Save your campaign and click on ‘Activate’.
![How to Create Digital Membership Cards for Mobile Wallet [Full Guide] 25 Screen Shot 2016-03-09 at 4.34.44 PM](https://dxjl3qy52c1o9.cloudfront.net/wp-content/uploads/2016/03/10041430/Screen-Shot-2016-03-09-at-4.34.44-PM-1024x565.png)
Part 4: Distributing your Membership Card
Option 1: Distributing via MailChimp (Recommended) or your email provider
Please refer to this article to learn how to distribute Mobile Wallet content via email through a third party provider (recommended).
Option 2: Distributing via Email
1. Click on ‘Assets’ in the menu and select ‘Emails’. Click on the ‘Add an Email’ button to create an email template. Use short-codes such as #{FirstName} or #{company} to display those values in the email (the text inside the bracket is taken from the header of your CSV). To add the link to the membership card, use #{passlink}.
![How to Create Digital Membership Cards for Mobile Wallet [Full Guide] 26 Screen Shot 2016-03-09 at 4.40.03 PM](https://dxjl3qy52c1o9.cloudfront.net/wp-content/uploads/2016/03/10042427/Screen-Shot-2016-03-09-at-4.40.03-PM-1024x568.png)
2. Go back to the ‘Campaigns’ menu and click on the ‘share’ icon next to the name of the campaign.
![How to Create Digital Membership Cards for Mobile Wallet [Full Guide] 27 Screen Shot 2016-03-10 at 12.14.07 PM](https://dxjl3qy52c1o9.cloudfront.net/wp-content/uploads/2016/03/10041504/Screen-Shot-2016-03-10-at-12.14.07-PM-1024x564.png)
3. Select the contact list you want to distribute the email to. Choose a segmentation (if applicable), select the email template, and click ‘Distribute’ to send your email.
![How to Create Digital Membership Cards for Mobile Wallet [Full Guide] 28 Screen Shot 2016-03-09 at 4.40.29 PM](https://dxjl3qy52c1o9.cloudfront.net/wp-content/uploads/2016/03/10051451/Screen-Shot-2016-03-09-at-4.40.29-PM-1024x559.png)
Option 2: Distributing via other Channels
If you want to share the membership card on other channels (i.e. social media, website), simply copy and paste the pass URL. Click on the ‘Share’ icon and the ‘Distribution’ window will open. The pass URL is right underneath the QR code.
Other than sharing the membership card URL, you can also generate a QR code with the membership URL embedded in it. That way, members can simply scan the QR code to add their membership card to their wallet.
Part 5: The Customer Experience
1. Here’s how the email look when distributing via CherryPie. You’ll notice that the first name was taken from our CRM (using the shortcode #{FirstName} and the pass URL is there for users to click on.
![How to Create Digital Membership Cards for Mobile Wallet [Full Guide] 29 email-phone](https://dxjl3qy52c1o9.cloudfront.net/wp-content/uploads/2016/03/10061452/email-phone-526x1024.png)
2a. When a user clicks on the membership card link, they will be taken to this landing page, prompting them to upload their own image.
![How to Create Digital Membership Cards for Mobile Wallet [Full Guide] 30 Untitled-2](https://dxjl3qy52c1o9.cloudfront.net/wp-content/uploads/2016/03/10061801/Untitled-2.png)
2b. If you’ve asked for customers to fill in their information, this is what they will see:
![How to Create Digital Membership Cards for Mobile Wallet [Full Guide] 31 p3](https://dxjl3qy52c1o9.cloudfront.net/wp-content/uploads/2016/03/10071131/p3.png)
3. Here’s how the final membership card looks. Notice that because their first name and last names were taken from the CRM, it automatically populates their membership card.
![How to Create Digital Membership Cards for Mobile Wallet [Full Guide] 32 Untitled-3](https://dxjl3qy52c1o9.cloudfront.net/wp-content/uploads/2016/03/10061955/Untitled-3.png)
Part 6: Capturing Data in the CherryPie CRM
To see where the information you’ve collected from members go, simply go to your CRM and click on ‘Contacts’ for the relevant list. In the example above, we’ve captured first name, last name, and email – and you can see that this gets stored all here! You can click into individual contacts and update their information, track how many passes they have, and even change content on their pass.
![How to Create Digital Membership Cards for Mobile Wallet [Full Guide] 33 Screen Shot 2016-03-10 at 3.16.26 PM](https://dxjl3qy52c1o9.cloudfront.net/wp-content/uploads/2016/03/10071908/Screen-Shot-2016-03-10-at-3.16.26-PM-1024x565.png)
Important Note: CherryPie is no longer supported.
PassKit released the all new PassKit Platform in early 2020. This platform incorporates decades of experience designing, developing and implementing world class mobile wallet solutions for some of the biggest international brands. And at the same time, working with small businesses all over the world to help them access the cool capabilities of Apple Wallet and Google Pay passes. We have combined these rich learnings, proven best practices and ever growing knowledge, to deliver you the very best mobile wallet management platform. A platform where you can extend your mobile reach by quickly integrating Apple Wallet and Google Pay Passes into your business. Into your processes. Into your systems. And most importantly into your customer experience.
PassKit now delivers dedicated modules to solve your specific business use cases. No longer do you need to waste time learning about ‘passes’ language. No longer do you need to study mobile wallet terminology. You now work with Mobile Wallet API’s designed around your business processes; your language. A language you are already familiar with. The latest platform currently covers:
TRY THE NEW PASSKIT PLATFORM FOR FREE – UNLIMITED TEST PASSES
And check our the latest Getting Started Guides.
