
Loyalty Card Templates: Examples, Sizes & Design Tips
Use loyalty card wording examples for coffee shops, retail, salons, restaurants and VIP members. Compare formats, sizes and fields before customizing.

A loyalty card template gives you a starting layout for business branding, member identification and reward information. The right template lets a customer understand the offer and present the card quickly, while giving staff the details they need to recognize progress or apply a reward.
Choose the reward structure first, then use the wording and field examples below to prepare the card. For a digital starting point, you can preview the PassKit loyalty template in a wallet before customizing it.
Choose a loyalty card template by the job it needs to do
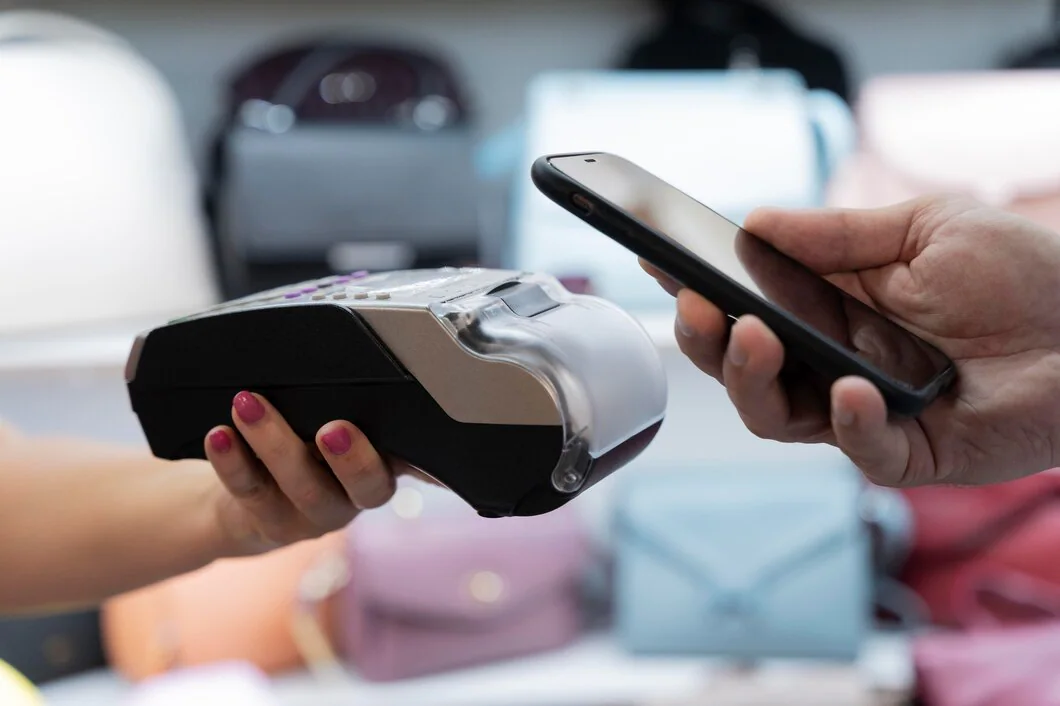
Image source: Freepik
Use a stamp layout for a simple count, a points layout for a changing balance and a VIP layout for membership status. The following examples cover five common business situations.
| Template | Choose it when | Most important information |
|---|---|---|
| Coffee stamp card | Customers earn the same progress for each qualifying drink | Stamps completed, drinks remaining and the free-drink rule |
| Retail points card | Eligible baskets have different values | Member identifier, points balance and redemption threshold |
| Salon visit card | A defined appointment earns progress toward a service benefit | Eligible service, completed visits and the named reward |
| Restaurant loyalty card | A specific meal or order earns a repeat-visit benefit | Qualifying order, progress and where the benefit applies |
| VIP membership card | Qualification unlocks benefits for a defined membership period | Member, tier, benefits and valid-until date |
Choose the terms around your costs and service capacity. If the reward itself still needs deciding, use the small-business rewards program guide, then return to the card wording.
Five loyalty card wording examples to adapt
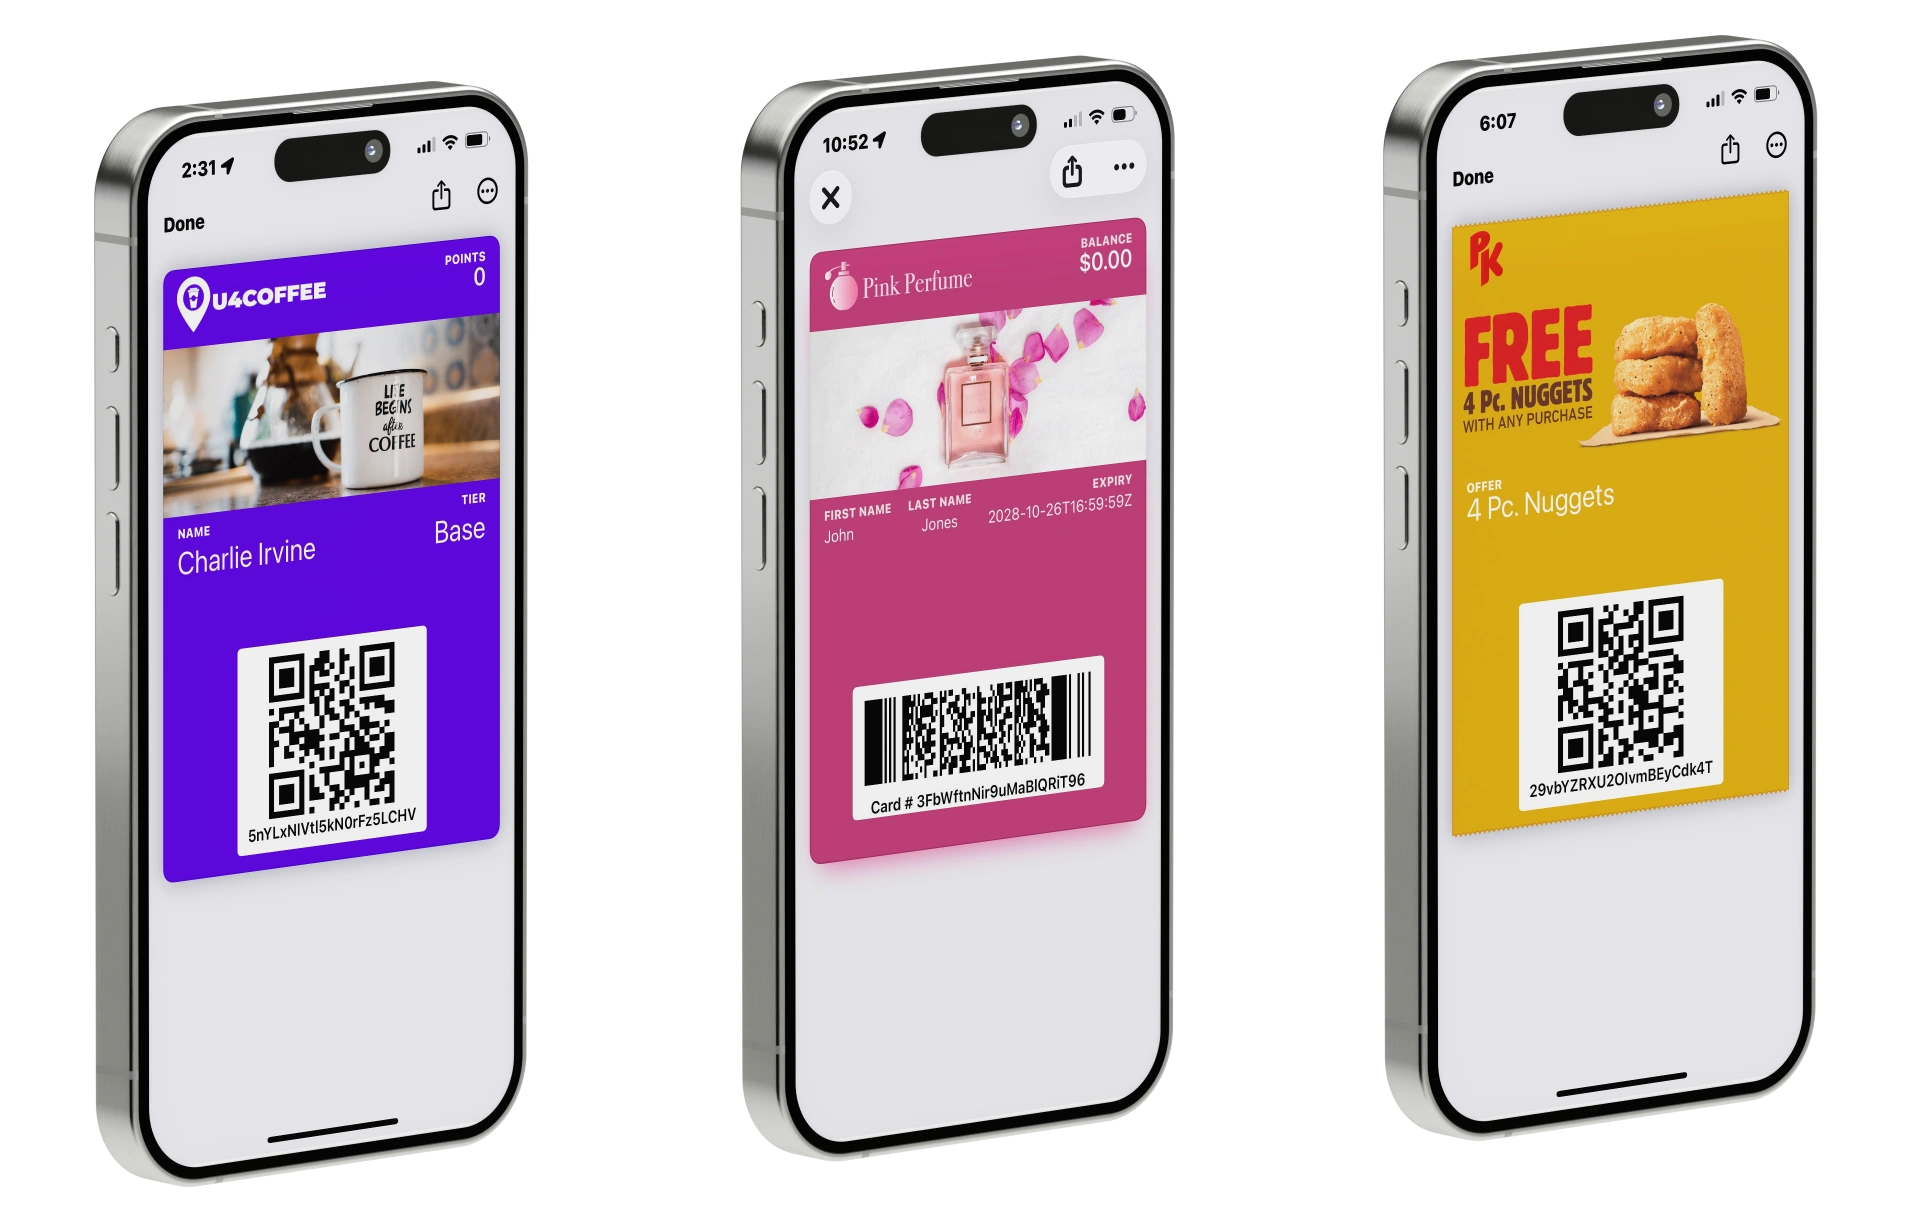
These examples show different branding and information layouts for loyalty, gift-card and coupon passes.
Each example gives customer-facing wording and the fields needed to support it. Replace the sample business details and reward values with your chosen offer. On a digital pass, place the text in the fields supported by the issuing tool and wallet.
1. Coffee shop stamp card
Front wording
[Business name] Coffee Club
Buy nine regular coffees and get your tenth regular coffee free.
Show this card before paying.
Required fields: Business name, nine stamp spaces or recorded progress, reward instruction and member identifier where needed.
Supporting terms
One stamp for each full-priced regular coffee. The reward is one regular coffee after nine qualifying purchases. Third-party delivery orders are excluded. Present the completed card when redeeming.
The front makes the threshold and reward clear. The supporting wording establishes whether progress is per drink or per visit; this example counts drinks. Keep the same rule on the card, menu and staff instructions.
On a printed card, provide enough space for staff to mark nine purchases and identify a redeemed card. A digital version needs a supported field or presentation for progress supplied by the tracking workflow. For further business considerations, see coffee shop loyalty cards.
2. Retail points card
Front wording
[Business name] Rewards
Earn one point per $1 of eligible merchandise.
Use 100 points for $5 off an eligible purchase.
Member: [Member ID]
Points: [Current balance]
Show your code at checkout.
Required fields: Member identifier, current points balance for a digital card, reward threshold, scannable code or lookup instruction.
Supporting terms
Points are calculated after discounts, excluding shipping, tax and gift-card purchases. A $5 reward uses 100 points. Returned merchandise reverses its earned points. See [terms link] for redemption exclusions and expiry rules.
A printed points card should normally carry the stable member identifier and tell customers where to check their balance. Use a changing balance field on a digital card only when the issuing workflow keeps it accurate. Avoid printing a sample balance that will become outdated after the first purchase.
3. Salon or spa visit card
Front wording
[Business name] Visit Rewards
Complete five paid cut-and-finish appointments to receive a complimentary conditioning add-on with your next cut-and-finish.
Visits completed: [Progress]
Ask your stylist to record today’s visit.
Required fields: Member or customer identifier, qualifying service, visit progress and the named add-on.
Supporting terms
One visit is recorded for each completed, paid cut-and-finish appointment. Color-only appointments, consultations and cancelled bookings do not qualify. The conditioning reward is used with a booked cut-and-finish appointment. Please mention the reward when booking.
The wording connects the reward to a service staff can recognize and schedule. If several services qualify, list them or provide a short, accessible terms link. Staff and customers should reach the same answer when deciding whether an appointment counts.
4. Restaurant or takeaway loyalty card
Front wording
[Business name] Lunch Rewards
Buy six qualifying lunch mains and receive one standard side with your next lunch main.
Progress: [Completed purchases] of 6
Show this card when ordering.
Required fields: Qualifying meal, progress, reward item and presentation instruction.
Supporting terms
One stamp for each paid lunch main. Dine-in and counter takeaway purchases qualify; third-party delivery orders are excluded. One standard side is available per completed card with a subsequent paid lunch main.
Name the eligible side choices in the terms or menu. If online orders also qualify, explain how customers identify their membership there. The restaurant loyalty programs guide covers program choices beyond the wording on the card.
5. VIP membership card
Front wording
[Business name] Gold Membership
Early access to selected launches and one 30-minute styling consultation during your membership.
Member: [Name or Member ID]
Valid until: [Date]
Show this card to access member benefits.
Required fields: Member identifier, tier, benefit summary, valid-until date and contact or booking instructions.
Supporting terms
Gold qualification requires $500 of eligible merchandise purchases, after returns, during the preceding 12 months. Membership runs for 12 months from qualification. The styling consultation is available once during that membership period and requires booking. See [terms link] for eligible purchases and renewal conditions.
A VIP card should make entitlement and timing easy to understand. Show a useful benefit summary and direct members to the full qualification and renewal rules. If several tiers are planned, use the tiered loyalty program guide to define the structure before creating separate designs.
Choose a physical or digital format
| Format | Suitable use | Content decision |
|---|---|---|
| Printed stamp card | Staff record a simple count at the counter | Reserve space for stamps and the reward instruction |
| Printed identification card | Staff look up a member in another system | Show a stable identifier and where customers check progress |
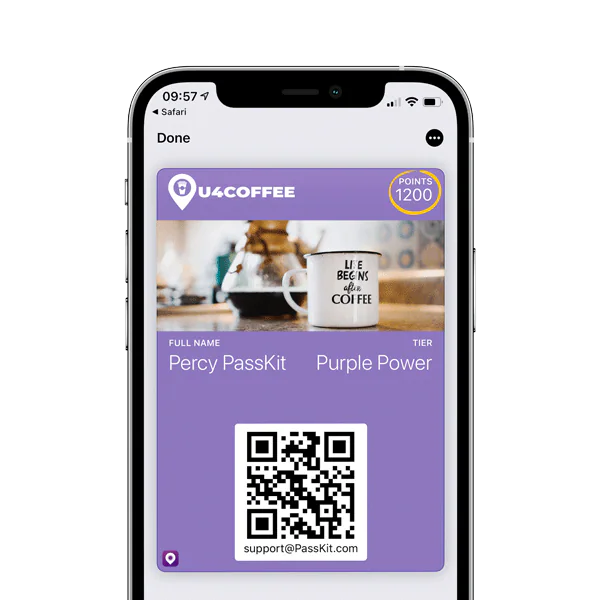
| Apple Wallet or Google Wallet pass | Customers need a saved credential with supported updates | Use configured fields for member details, balance, progress or tier |
A printed stamp area can be marked by hand. A digital balance or progress display needs information supplied by the connected program or staff workflow. Make that responsibility clear before choosing a layout; then keep the customer-facing card focused on the offer and next action.
What size should a physical loyalty card be?
A common credit-card-sized format measures 3.375 × 2.125 inches, approximately 85.6 × 54 mm. This is the CR-80 format listed in HID’s card specifications. A printable punch card can use another size if its stamp spaces and text remain usable.
Ask the printer for finished dimensions, bleed, safe area and preferred file format. Put essential wording and codes inside the safe area, then print a proof at actual size before ordering a batch.
Digital passes use wallet-specific layouts and image areas. Follow Apple’s Wallet design guidance and Google’s loyalty template guidance when selecting supported fields and previewing the result.
Put the right information in the right place
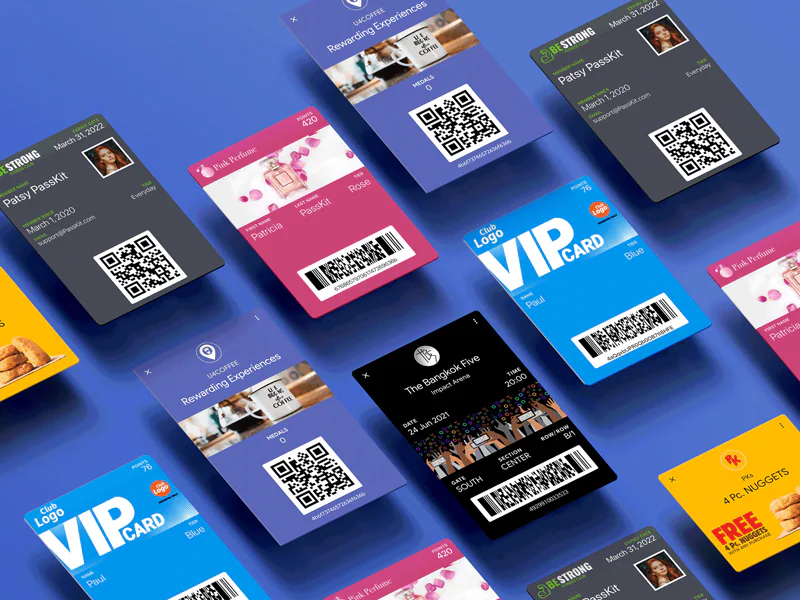
The front should answer the questions a customer has at checkout. The reverse, details area or linked terms page can carry longer conditions.
| Information | Main card view | Supporting details |
|---|---|---|
| Business and program name | Recognizable and easy to find | Contact route if help is needed |
| Reward | Exact benefit and useful threshold | Eligible products, services and redemption exclusions |
| Member | Identifier or name where needed | Account-management instructions |
| Progress or tier | Current supported value or status | How earning, expiry and adjustments work |
| Redemption | Short action such as “Show before paying” | Where the benefit is accepted and how staff handle queries |
| Timing | Important validity date when applicable | Full expiry or renewal conditions |
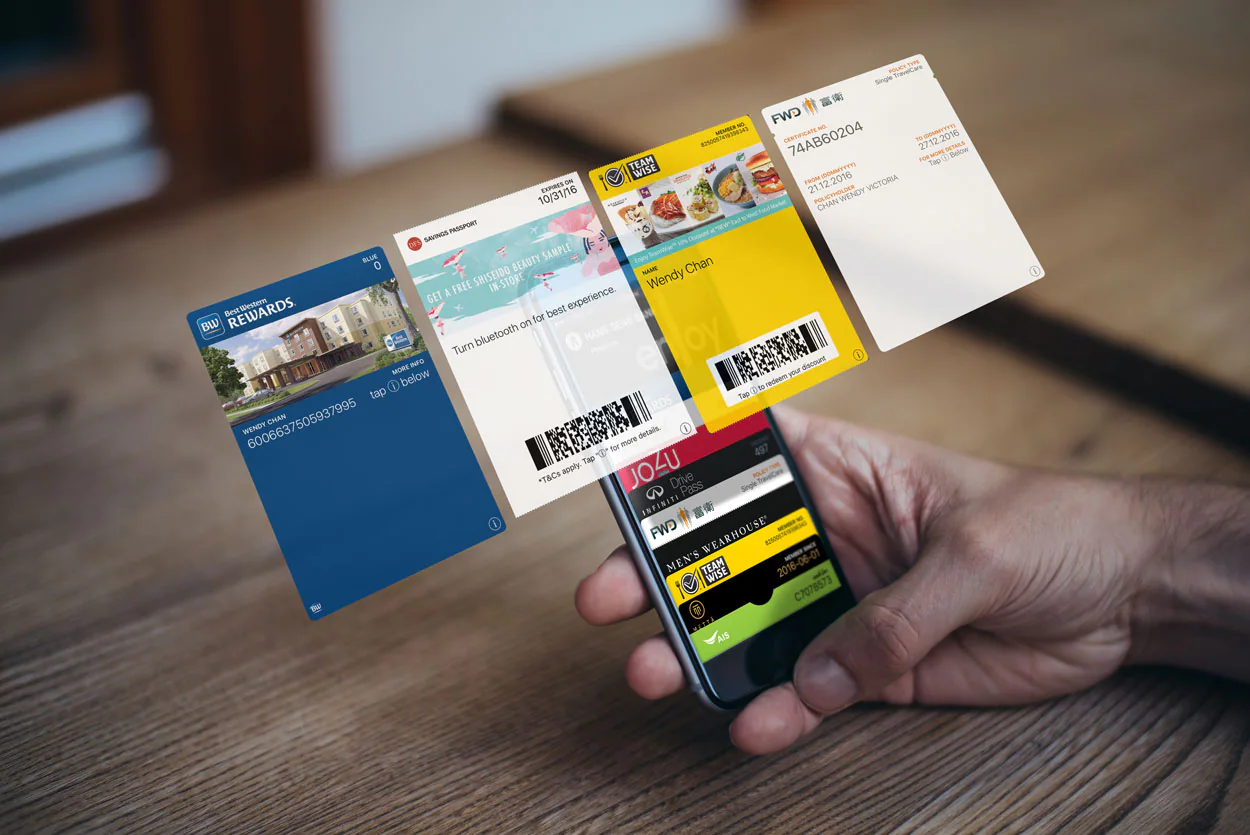
Use short labels and familiar words. Replace “Benefit eligibility achieved” with “Your reward is ready” when that is the actual state. Replace an unexplained “420 points” with a balance and a clear route to the reward choices.
For detailed branding and layout principles, use loyalty card design. The text should remain readable when the member name is long, the balance grows or the customer increases supported text settings.
Find an editable digital starting point
PassKit’s template library includes a loyalty starting design with Add Example to Wallet and Use This Template options. Previewing the example helps you try the format; using the template opens its starting point for customization.
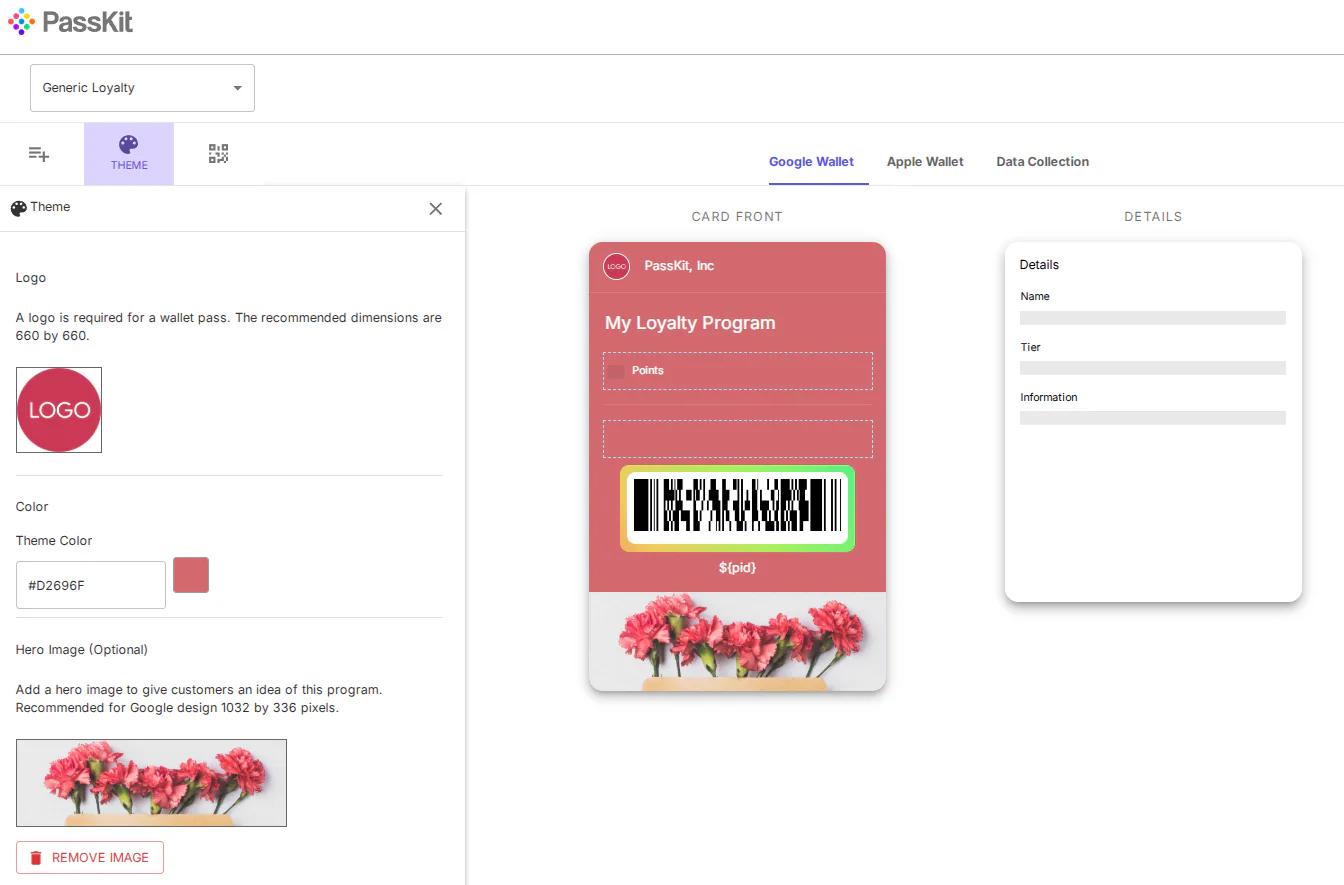
Match the starting design to the information required by your offer. Check the supported balance, identifier, status and details fields in the wallet previews. PassKit’s guide to choosing a loyalty pass design explains the selection and test-pass process.
For a printed card, start with a print-specific layout in your preferred design or document tool and use the printer’s specifications. The wallet template route produces a digital pass; a print layout produces a physical card.
Customize the wording and check the finished card
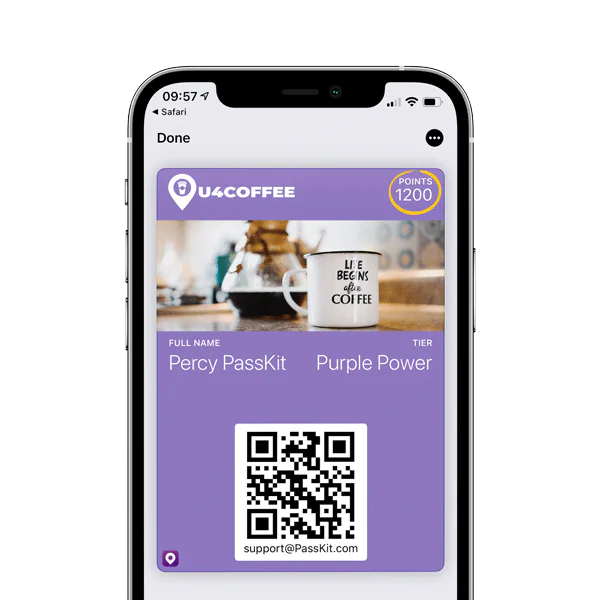
- Choose one example offer. Replace its sample reward values and eligible purchases with the terms your business will operate.
- Apply your branding. Add the business name, logo and supported colors while keeping room for the offer and identifier.
- Populate the relevant fields. Use the member ID, balance, progress or status fields the format supports. Keep fixed offer wording separate from changing member values.
- Add the next action. Tell customers whether to show the card, present a code, ask staff to record a visit or book the reward service.
- Place longer conditions accessibly. Use the printed reverse, pass details or a clearly labeled terms link for exclusions and expiry rules.
- Replace every placeholder. Check sample names, test balances, bracketed text, dates, contact information and links before distributing the card.
A short finished-card review
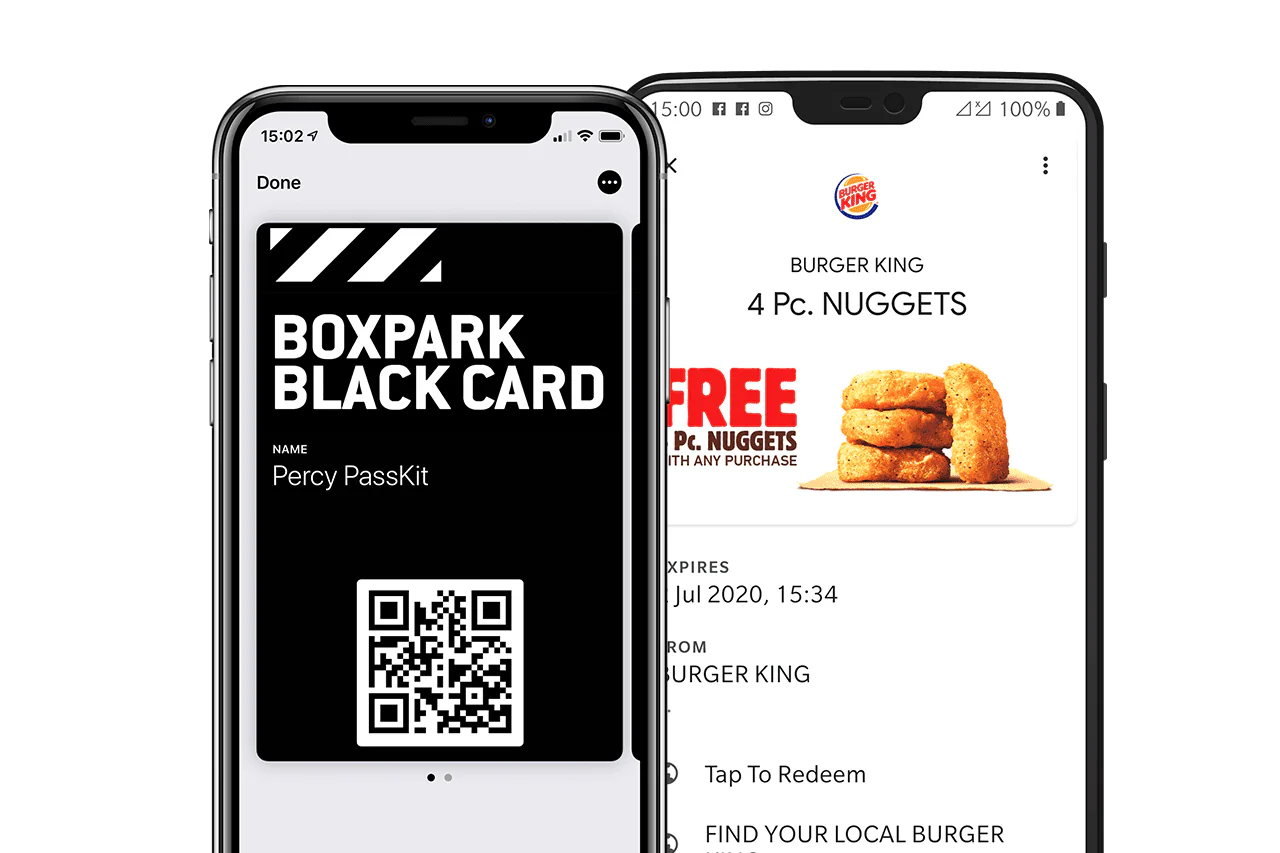
Review the actual printed proof or saved pass. Ask someone unfamiliar with the program to answer: What do I earn? What qualifies? How far am I from the reward? What do I do at checkout?
Check that the identifier or code is readable with the intended equipment, the important text fits and the displayed values match the test member. Confirm that a returning customer can find the terms and help route without an employee explaining the entire card.
For program configuration, distribution and transaction testing, continue to how to make loyalty cards.
FAQs about loyalty card templates
What wording should a loyalty card include?
State the exact reward, qualifying action, threshold and customer instruction. Add the business name and relevant member details, then provide accessible exclusions, expiry and contact information.
Can I use the sample wording in a printed card or Word document?
Yes. Adapt the text to your offer and place it in a print layout with the required dimensions. Use a table for stamp spaces if helpful, and print a proof at actual size.
Should I display a points balance on a printed card?
Use the printed card for a stable member identifier and tell customers where to check current progress. A changing digital balance needs a supported update workflow.
What makes a VIP template different from a stamp card?
A VIP card emphasizes membership status, benefits and validity. A stamp card emphasizes completed purchases and the remaining steps to a reward. Choose around the information the member needs to use the benefit.
Can one digital design serve Apple Wallet and Google Wallet?
A compatible issuing tool can support both wallets, but layouts and fields differ. Review the actual version for each wallet before distributing it.
Where should full loyalty terms go?
Use a readable printed reverse, pass details area or clearly labeled web link. Keep the reward and immediate redemption instruction visible on the main card.