QR code technology offers a compelling solution, fundamentally changing how events manage ticketing. Instead of traditional paper, attendees now use their smartphones as digital keys, enabling faster entry and reducing bottlenecks. For organizers, this shift translates into real-time attendance tracking and a more efficient operational overview.
The benefits extend beyond speed and convenience. QR codes minimize the logistical burdens of paper tickets, reducing printing costs and environmental impact. For events seeking to improve both attendee experience and operational efficiency, digital QR code tickets present a clear advantage.
What Are QR Code Tickets?
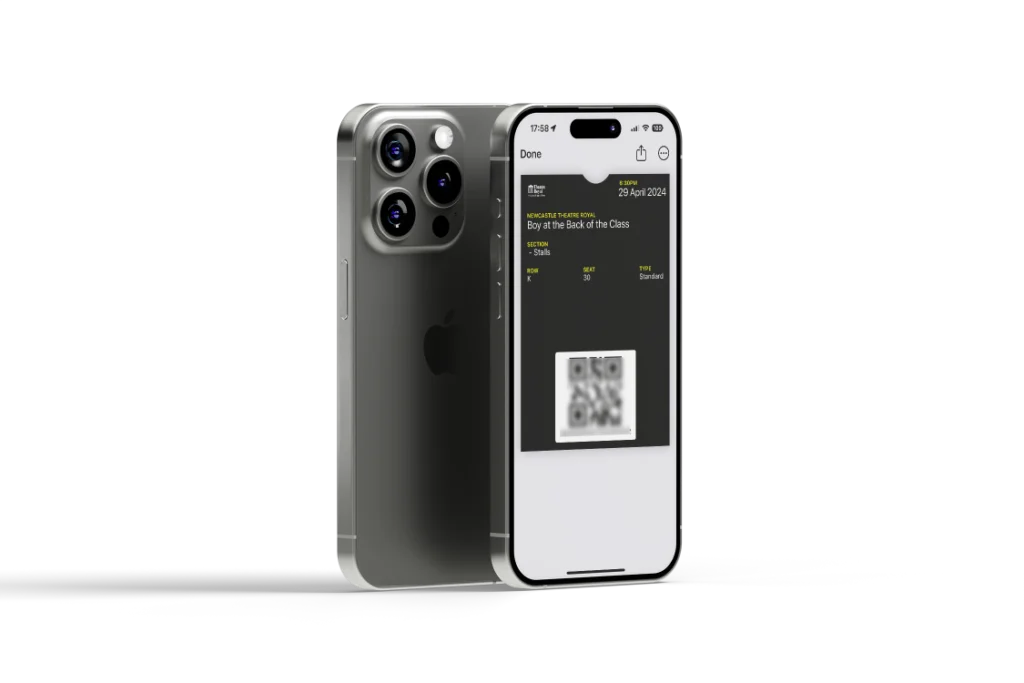
QR code tickets are digital event passes that use a unique, scannable QR code to verify a guest’s identity and grant access to an event. Each code is securely linked to the attendee’s registration data, including name, ticket type, event details, and seat assignment.
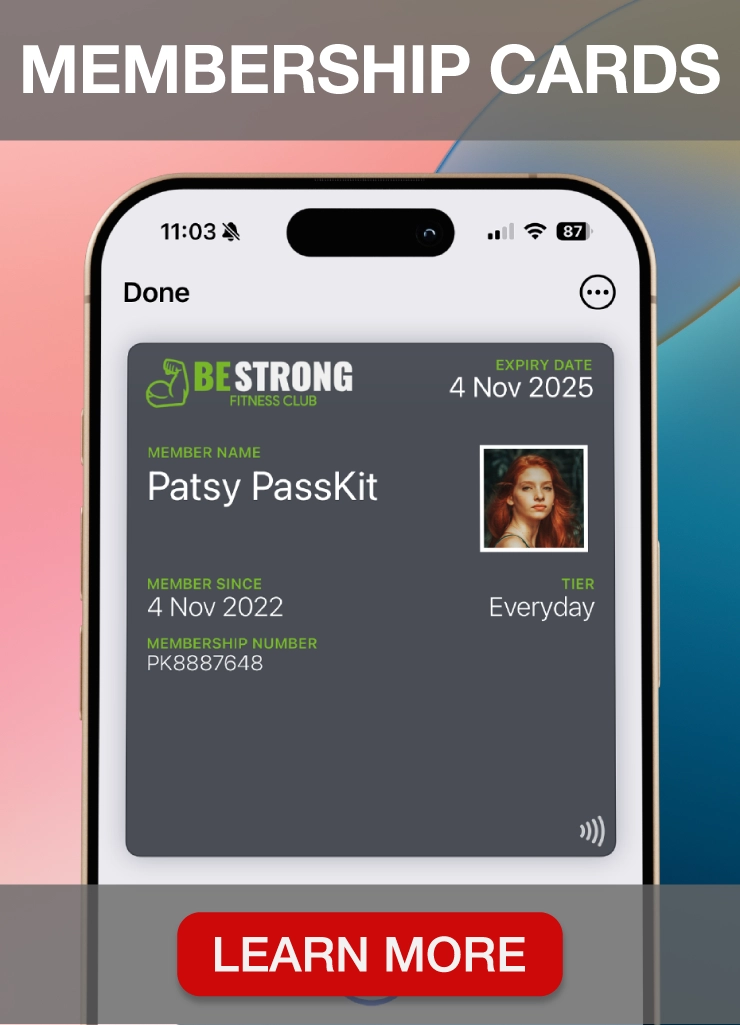
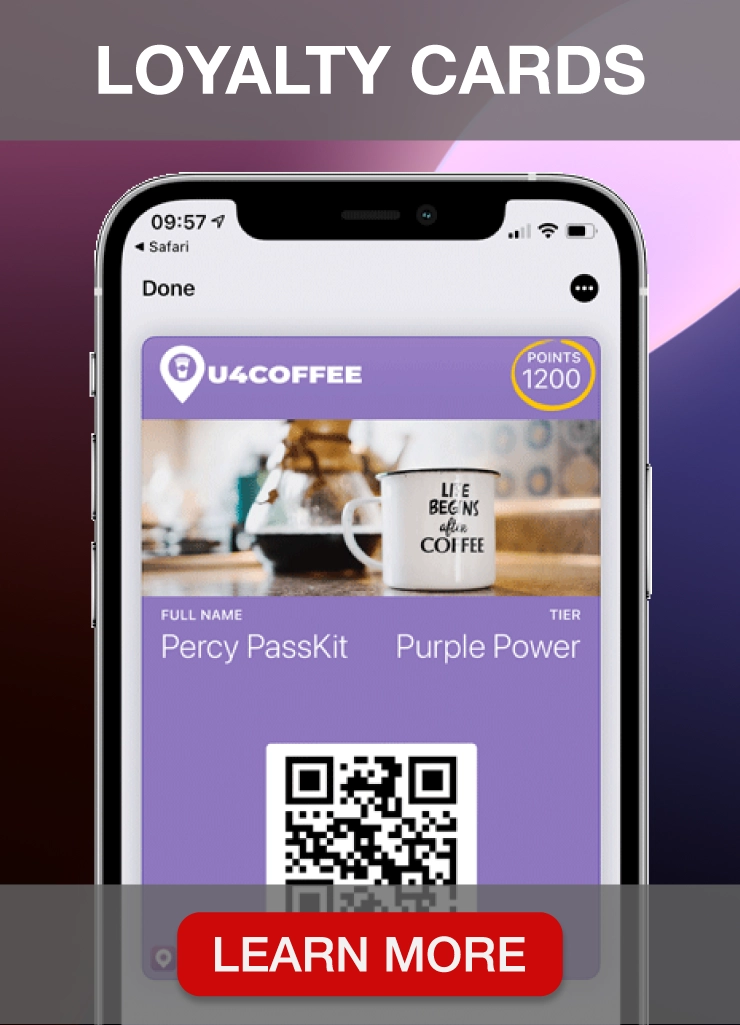
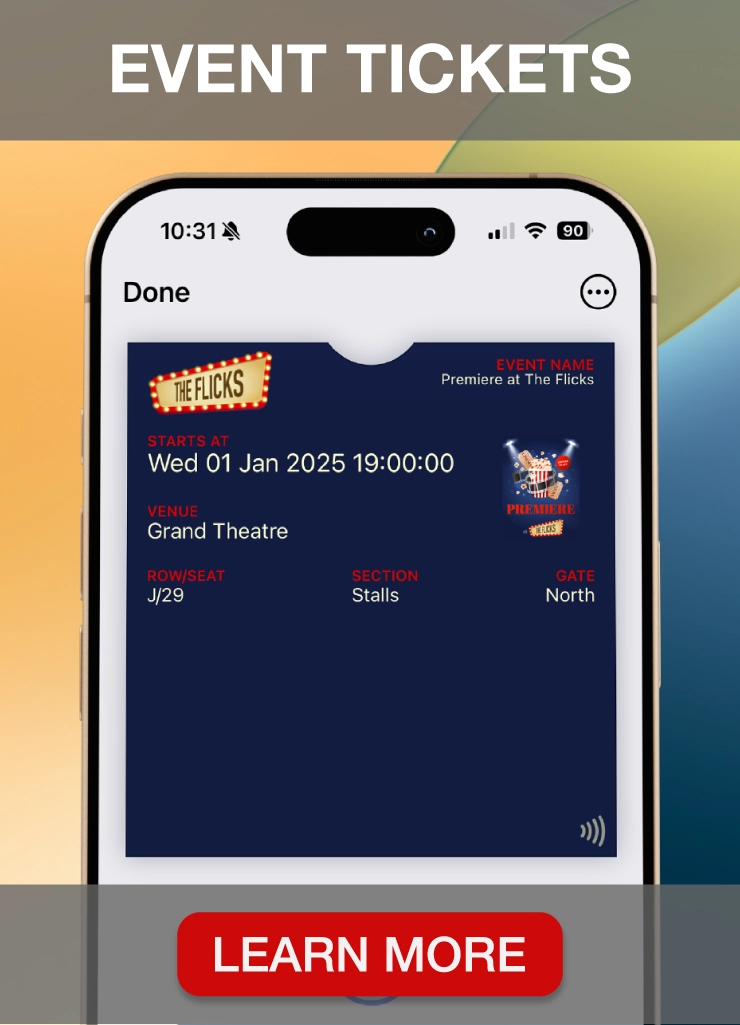
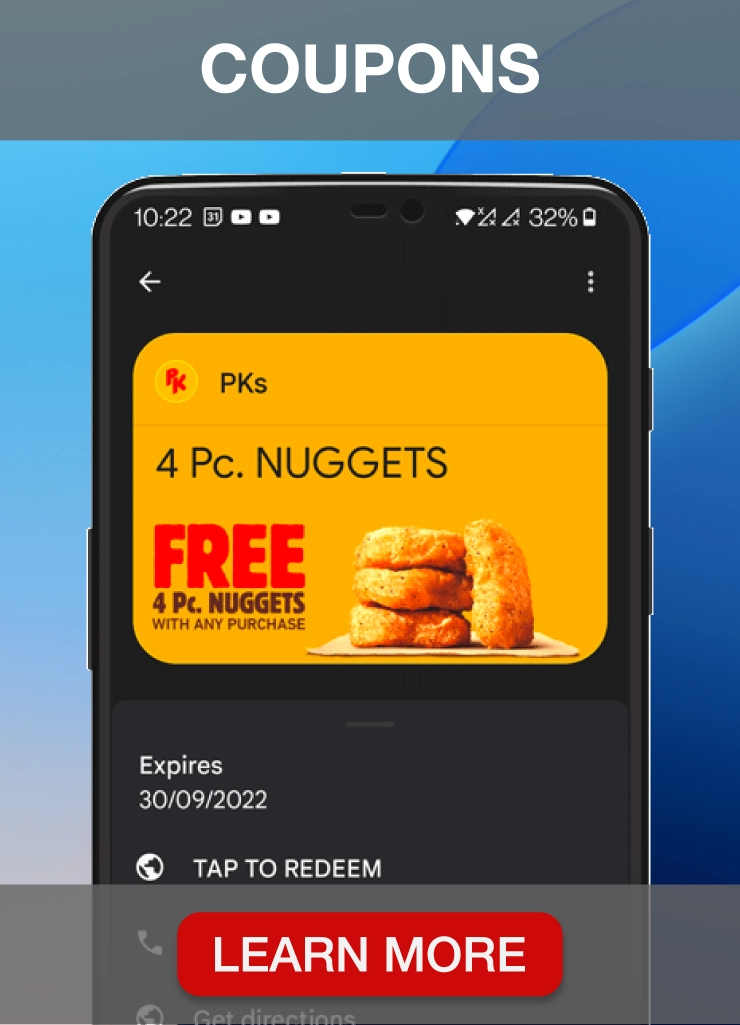
These digital tickets can be saved to a mobile wallet (such as Apple Wallet or Google Wallet), accessed through an email, or delivered via an event app. At check-in, event staff scan the QR code using a mobile device or scanner, instantly confirming the ticket’s validity.
How QR Code Tickets Work (and Why They Matter)
Once a QR code ticket is created, the real value lies in how seamlessly it fits into your event operations, from distribution to check-in and data tracking. This system replaces outdated manual processes with real-time, digital workflows that scale effortlessly from intimate workshops to high-volume festivals.
QR Code Ticketing Workflow
The QR code ticketing process follows a simple, automated workflow, from ticket creation to on-site scanning and live attendance tracking.
- Generation: When a guest registers, your ticketing system generates a unique QR code tied to their ticket data, no extra steps needed.
- Delivery: The QR code is embedded in a pass, then distributed via your preferred method: email, app, or mobile wallet.
- On-Site Scanning: Event staff use handheld devices or scanners to instantly verify each code at entry. No paperwork. No delays.
- Live Sync and Tracking: Every scan updates your backend in real time, giving you live attendee counts, entry timestamps, and scan location data.
Benefits of Using QR Code Tickets
QR code tickets are more than just digital replacements for paper, they’re a scalable, secure, and efficient solution that improves the entire event workflow, from ticket delivery to attendee check-in.
1. Fast Event Entry: Attendees scan their QR code using a smartphone or scanner for instant check-in, eliminating long lines and manual processing.
2. Ticket Fraud Prevention: Each QR code is uniquely generated and encrypted, reducing the risk of duplicate, counterfeit, or shared tickets.
3. Lower Ticketing Costs: Digital delivery eliminates printing, shipping, and distribution expenses, making your event more cost-effective and eco-friendly.
4. Real-Time Attendance Tracking: Scans are logged instantly in your system, giving you accurate check-in data, timestamps, and location insights.
5. Mobile Wallet Support: Tickets can be saved to Apple Wallet or Google Wallet, allowing guests to store and access them directly from their smartphones.
6. Attendance Analytics: Track scan data to evaluate turnout, identify peak entry times, and improve future event planning.
7. Digital Ticket Distribution: Send tickets automatically via email, event apps, or mobile-friendly channels, no paper, no delays.
8. Marketing Integration: QR codes can link to landing pages, promotional offers, or social media profiles, bridging ticketing and event promotion.
Popular Use Cases for QR Code Event Ticketing

QR code tickets aren’t limited to one type of event, they’re versatile, scalable, and ideal for a wide range of in-person and hybrid experiences. Whether managing a few dozen guests or tens of thousands, this digital ticketing system adapts to your event type, size, and operational goals.
1. Conferences and Trade Shows: QR codes streamline multi-day check-ins, session tracking, and badge scanning. Organizers can monitor attendance across breakout rooms, restrict access to VIP areas, and capture session-level analytics in real time.
2. Music Festivals and Concerts: Handle high entry volumes quickly with instant scanning at multiple gates. QR codes also help prevent ticket scalping or fraud through single-use or time-restricted access.
3. Sports Events and Arenas: From general admission to season ticket holders, QR codes reduce crowding at turnstiles and integrate with mobile wallets for tap-and-go entry.
4. Corporate Events and Internal Training: Simplify check-ins for company events, offsites, and seminars. QR codes tie attendee credentials to internal systems, improving tracking and access control.
5. Museums, Exhibitions, and Attractions: Timed entry tickets and capacity management are easier with QR scanning. You can also embed links to exhibit guides or interactive mobile content.
6. Fitness and Wellness Studios: QR codes let members check into classes, events, or pop-ups using their phones, with automated attendance logging and access control.
7. Universities and Campus Events: Ideal for managing guest entry at orientations, lectures, or student conferences, especially where mobile-first experiences are expected.
8. Nonprofits and Fundraisers: Send QR code tickets via email or SMS for quick donor entry. Link codes to donation pages, event materials, or sponsorship content.
QR Code Tickets vs. Traditional Tickets – Why Make the Switch?
Event ticketing has evolved dramatically, and QR code tickets are quickly replacing traditional paper tickets due to their efficiency, security, and environmental benefits. If you’re still relying on physical tickets, here’s why switching to QR codes is the smarter choice:
- By 2023, approximately 89 million users engaged with QR codes, marking a 26% increase from 2020.
- This trend is projected to surpass 100 million QR code users in the U.S. by 2025
- The global QR code market was valued at USD 1.5 billion in 2023 and is expected to grow to USD 3.5 billion by 2033, with an 8.7% CAGR
As QR code usage continues to increase, event organizers who implement QR code ticketing now will benefit from faster event check-ins, reduced fraud, and a modern digital experience for attendees.
QR Code Tickets vs. Traditional Tickets: A Comparison
| Feature | Traditional Tickets | QR Code Tickets |
|---|---|---|
| Cost | High printing and distribution costs | No printing, fully digital |
| Security | Can be lost, stolen, or duplicated | Unique QR codes prevent fraud |
| Check-in Speed | Slow, requires manual validation | Instant scan-and-go |
| Eco-Friendliness | Wasteful, paper-heavy | 100% digital, no waste |
| Tracking & Insights | No real-time tracking | Real-time scan data and analytics |
With the rapid growth of QR code adoption and the increasing demand for digital experiences, event organizers must consider the advantages of digital ticketing. QR code tickets removes logistical inefficiencies, improve security, and provide real-time attendee tracking.
However, QR codes aren’t the only option. NFC tickets provide a faster, tap-and-go experience, ideal for high-traffic events. To compare both technologies, check out our guides on NFC vs. QR Codes and NFC Tickets.
Dynamic vs. Static QR Codes: What’s the Difference?
Event organizers can choose between static and dynamic QR codes, depending on their event’s needs:
- Static QR Codes: Contain fixed information and cannot be modified once created. Ideal for one-time events where ticket details won’t change but lack tracking or update capabilities.
- Dynamic QR Codes: Can be updated or redirected after being issued, allowing for last-minute changes, real-time tracking, and improved security. Best for multi-day events, festivals, or high-volume ticket sales where flexibility is essential.
For events that require real-time analytics, marketing integration, and adaptability, dynamic QR codes are the superior choice. They enable event organizers to send tickets automatically, track scans, and adjust entry details with ease.
How To Create QR Code Tickets For Events
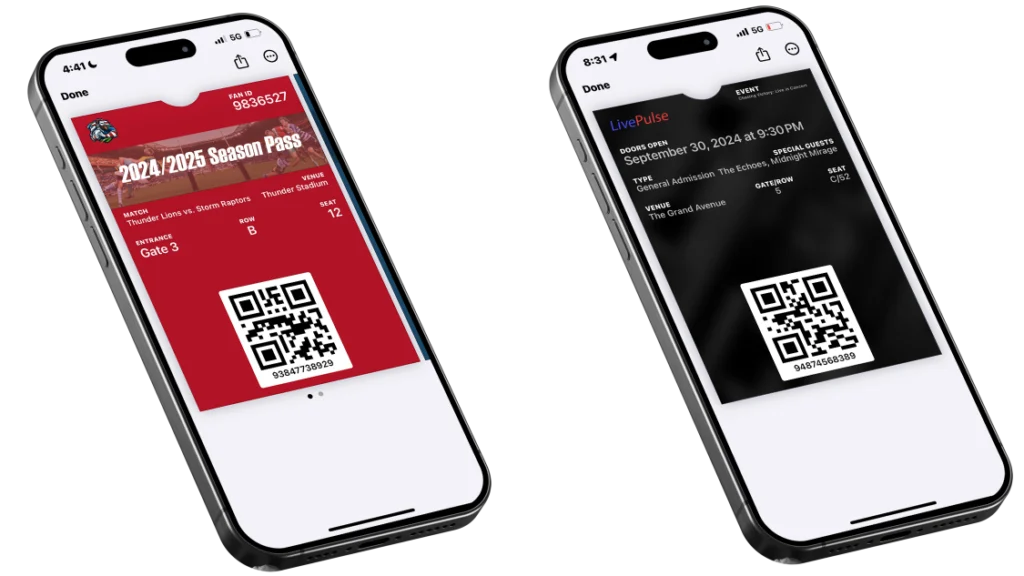
Creating QR codes for an event is simple and helps manage event entry efficiently. Here’s how you can do it with Passkit.
1. Signup For a 45-Day Free Trial
Visit the PassKit website to sign up for a free 45-day trial. This trial provides full access to all of PassKit’s features, allowing you to thoroughly explore and utilize its tools for creating and managing QR code tickets.
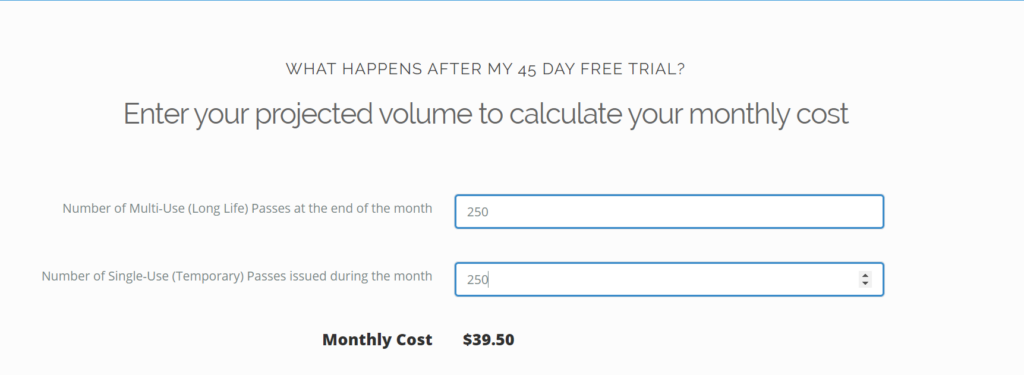
After your free trial, PassKit offers a flexible pay-as-you-go pricing model, allowing you to scale your ticketing needs based on event size and ticket volume. Use the pricing calculator to estimate your costs and see how PassKit can fit within your event budget, ensuring you only pay for what you use.
2. Create an Event Ticket Pass
On the PassKit dashboard, you’ll notice an option labeled Create New. Clicking this button will open a selection of different pass types, such as loyalty cards, coupons, and membership cards.
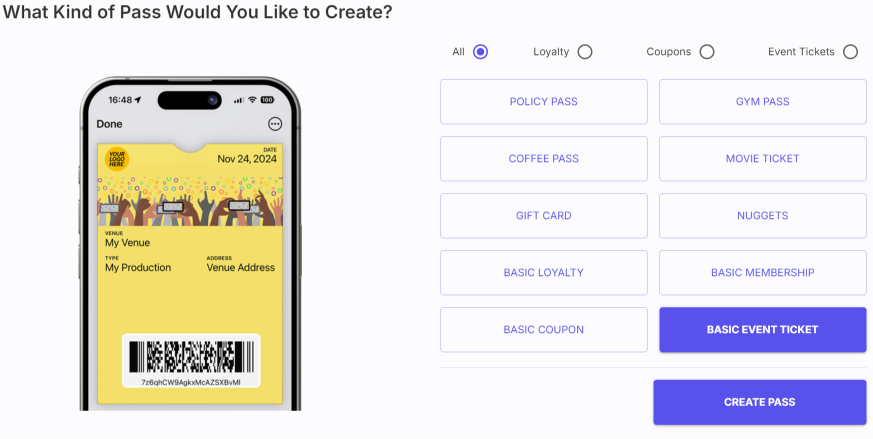
As we are creating an event pass, you’ll need to choose Basic Event Ticket. After selecting it, you’ll be taken to the customization page, where you can begin personalizing your event pass.
3. Design Your Event Tickets
Once you’re on the customization page, you’ll notice options to design your pass for both Apple Wallet and Google Wallet, ensuring compatibility with both platforms.
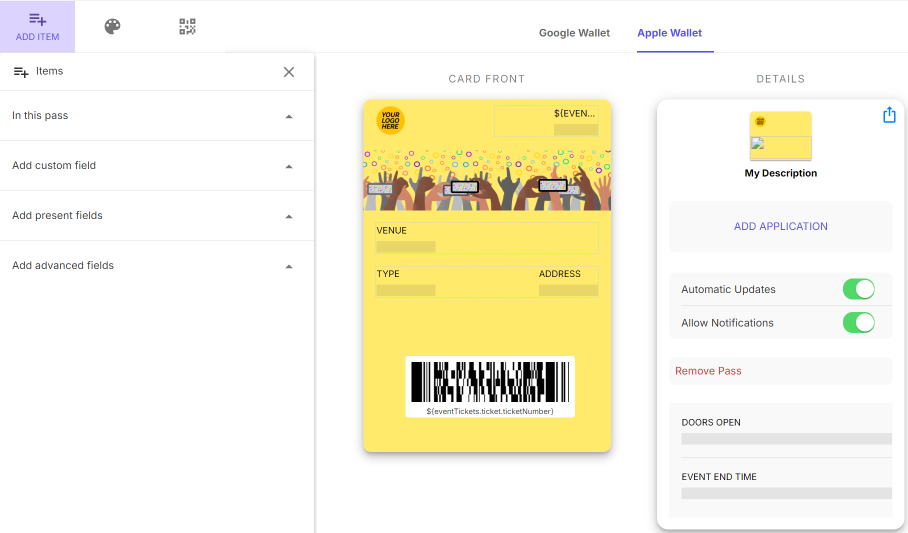
You’ll also see four key options: Add Item, Theme, QR Code, and Details, which help you customize and build your event tickets.
| Feature | Description |
|---|---|
| Add Item | Drag and drop essential fields such as event name, venue, ticket type, and event timings (e.g., doors open, event end time). You can also add custom fields to tailor the pass to your event’s specific needs. |
| Theme | Customize the visual style of your pass by adding your event’s branding, including logos, colors, and other ticket design elements to ensure the pass reflects your event’s identity. |
| QR Code | Generate a unique QR code for each pass. The QR code will be used at the event for attendee check-in, verifying their ticket and granting access. Can also be used as a dynamic QR code. |
| Details | Add additional functionality to the pass. This section allows you to enable notifications, automatic updates, and include extra information on the back of the pass, such as event schedules, instructions or sponsor details. You can also add links to the back of the pass, directing attendees to your event page, FAQs, or other useful resources. |
As an example, we’ve designed a sample pass to show how you can add your logo, choose the color of the pass, and customize the text to fit your event’s theme. On the Theme tab, you can upload your event’s logo and adjust the pass background color to match your branding.
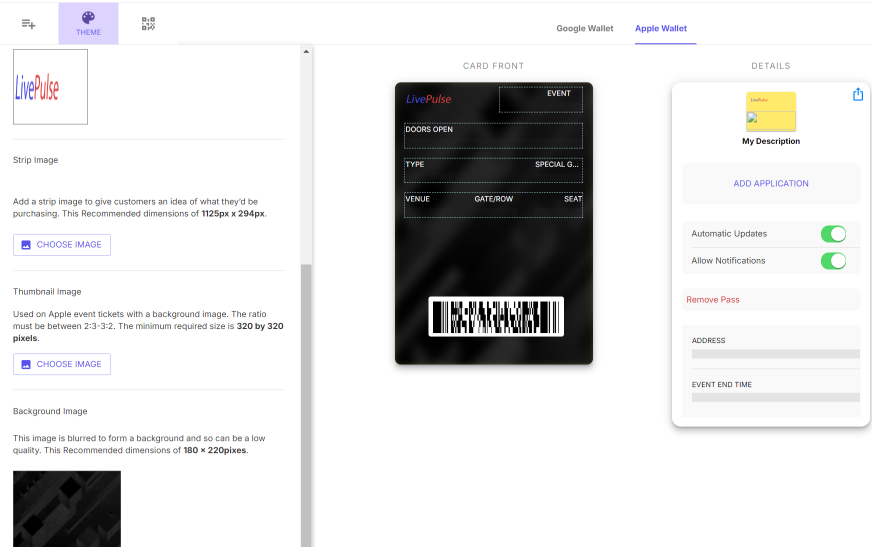
This ensures that your event pass aligns with your overall visual identity, making it instantly recognizable to attendees.
Real-Time Updates
With PassKit, your event tickets can be dynamically updated in real-time. This feature allows you to push essential information, such as changes in event schedules, venue updates, or new instructions, directly to the attendee’s mobile pass. Any design or content changes made to the pass, such as updating logos, colors, or text, will be automatically reflected in the user’s Apple or Google Wallet.
Attendees don’t need to download a new pass, all updates, including changes to the tickets design, time, location, or additional details, will instantly sync to their mobile wallet, ensuring they always have the most current and visually accurate version of the ticket.
PassKit also enables the use of push notifications, allowing you to communicate important updates directly to your attendees in real-time. Whether it’s a reminder about the event, changes to the schedule, or special offers, push messages keep attendees informed and engaged.
4. Create a QR Code For Your Event Tickets
After designing your event tickets, the next step is to select the QR Code option in the customization page to create QR codes for your event. PassKit acts as a user-friendly qr code generator, automatically creating a personalized QR code for each ticket. For an event organizer, QR codes are essential for managing event attendance and ensuring secure, efficient check-ins.
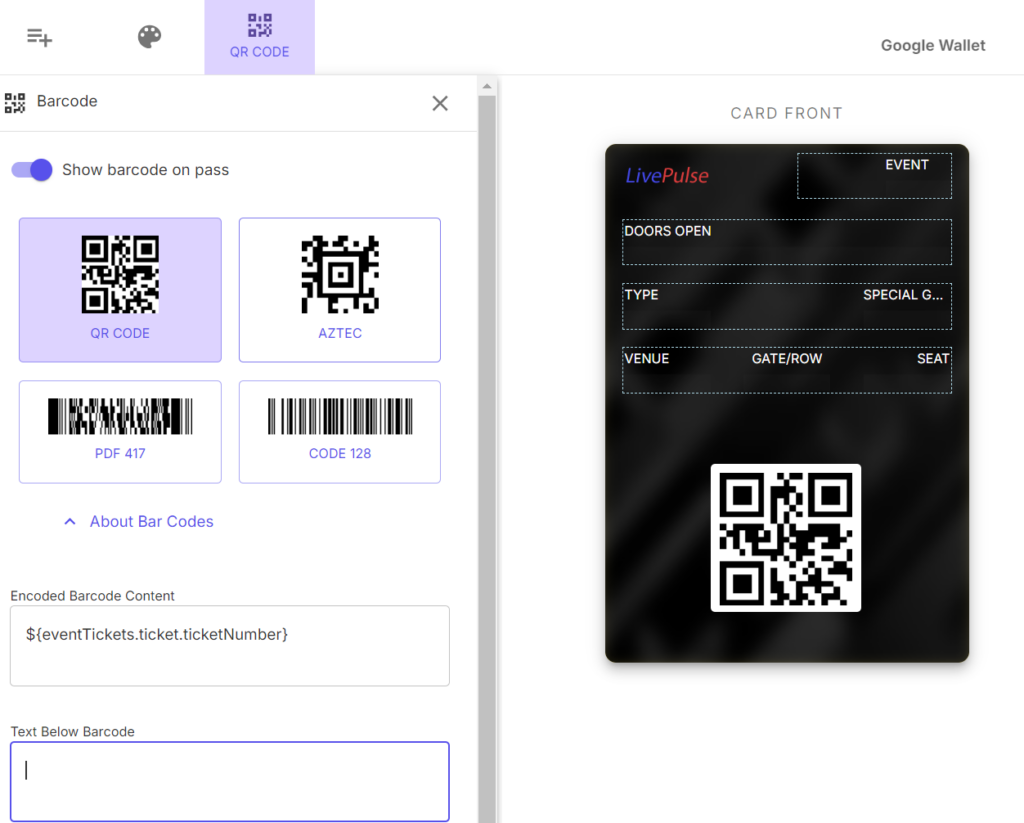
When attendees arrive at the event, they will use QR codes for check-in. Event staff can efficiently scan tickets using a scanner, instantly verifying each ticket and granting easy access to the venue. Attendees can conveniently display their QR code on their mobile device through Google or Apple Wallet. This process makes scanning QR codes straightforward, ensuring the check-in system works flawlessly across devices for your next event or future events.
5. Distributing QR Code Tickets
After setting up your QR code and designing your pass, the next step is distributing the tickets to your attendees. To do this, navigate back to the dashboard and click on the “Tickets” option at the top menu. This will open up the ticket distribution panel where you can manage your event’s ticketing process.
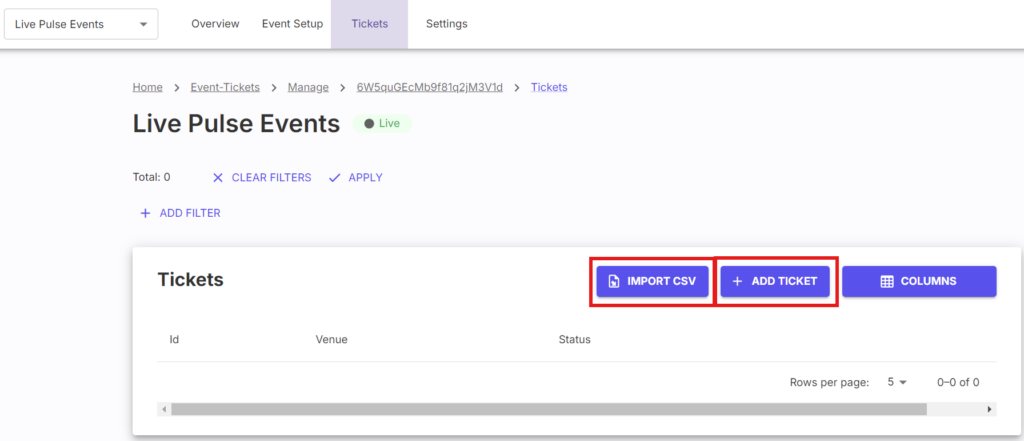
You will then see two options: “Import CSV” or “Add Ticket.” If you have a large number of attendees, using the “Import CSV” option allows you to upload a spreadsheet of all your attendee details, automatically generating tickets for each person in bulk. On the other hand, the “Add Ticket” option is ideal for smaller events or when you need to add attendees manually, one by one, directly into the system.
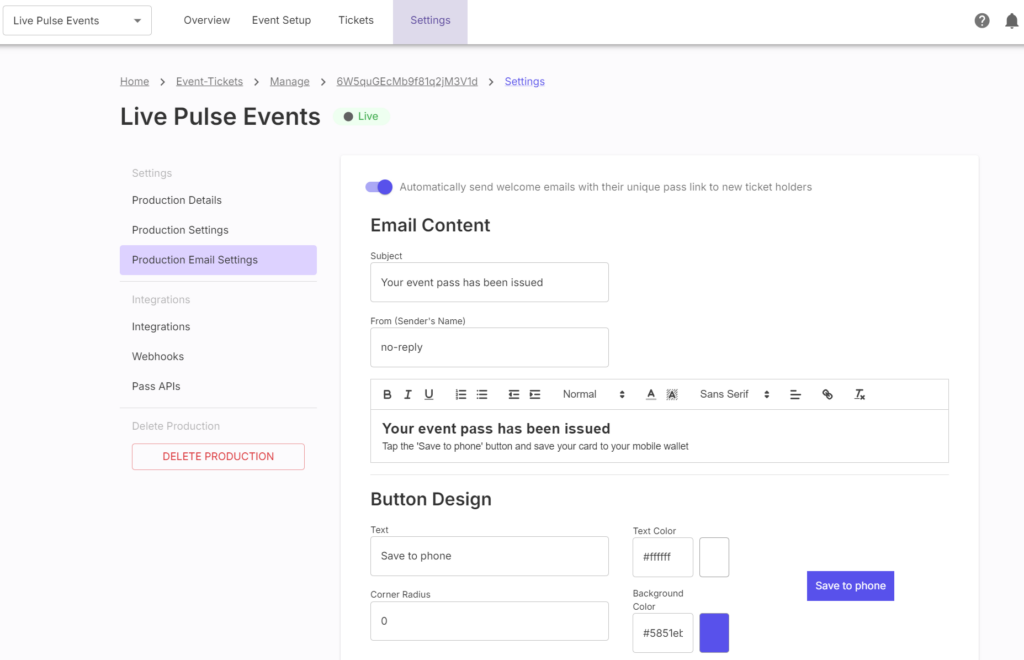
You can also set up a welcome email for your new attendees, providing them with their unique pass link for easy access to their ticket. To do this, navigate to the top menu and click on ‘Settings,’ then select ‘Production Email Settings.’ Here, you can customize the email content, ensuring each attendee receives a personalized message with their unique ticket link for them to download.
6. Integration with Existing Systems
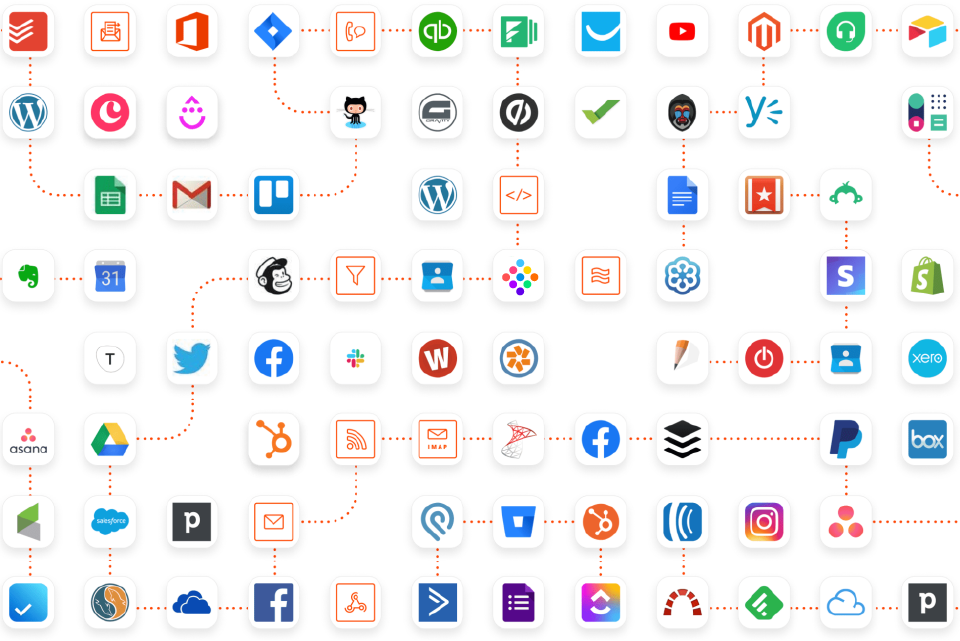
PassKit integrates easily with your current systems and applications, whether you’re using CRM software, marketing platforms, or POS systems. With tools like Zapier and Make, you can connect PassKit to automate tasks without needing to write code. Check out our new Integrations Library for all the apps that you can connect with PassKit.
To integrate Zapier with PassKit, start by navigating to your PassKit dashboard. From there, click on the “Settings” option in the top menu. Once in the settings, select the “Integrations” tab, where you’ll find the option to connect Zapier.
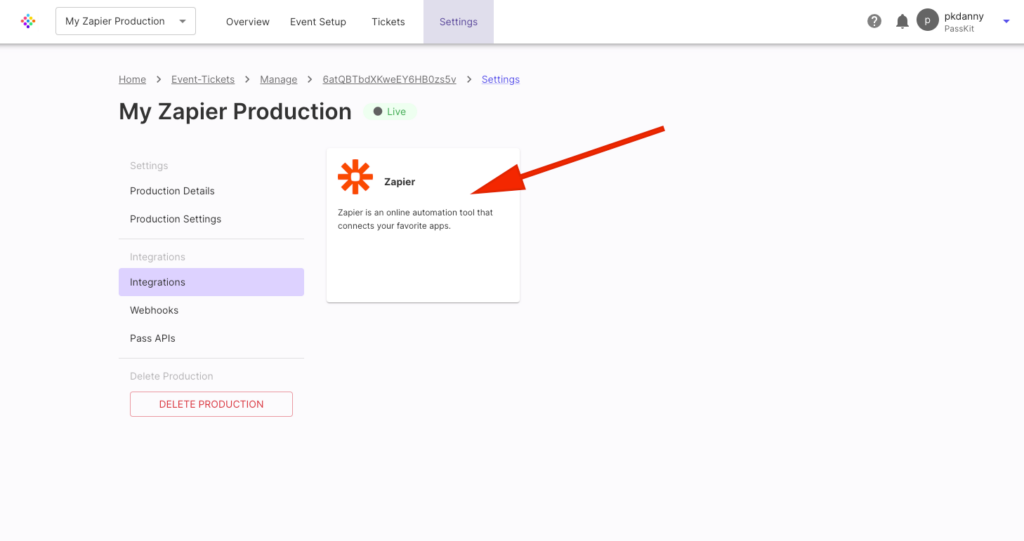
After clicking on Zapier, you’ll be prompted to authorize the connection and log into your Zapier account. Once connected, you can create automated workflows by choosing from thousands of apps that Zapier supports, making it easy to trigger actions like sending event confirmations, updating attendee lists, or syncing data between platforms.
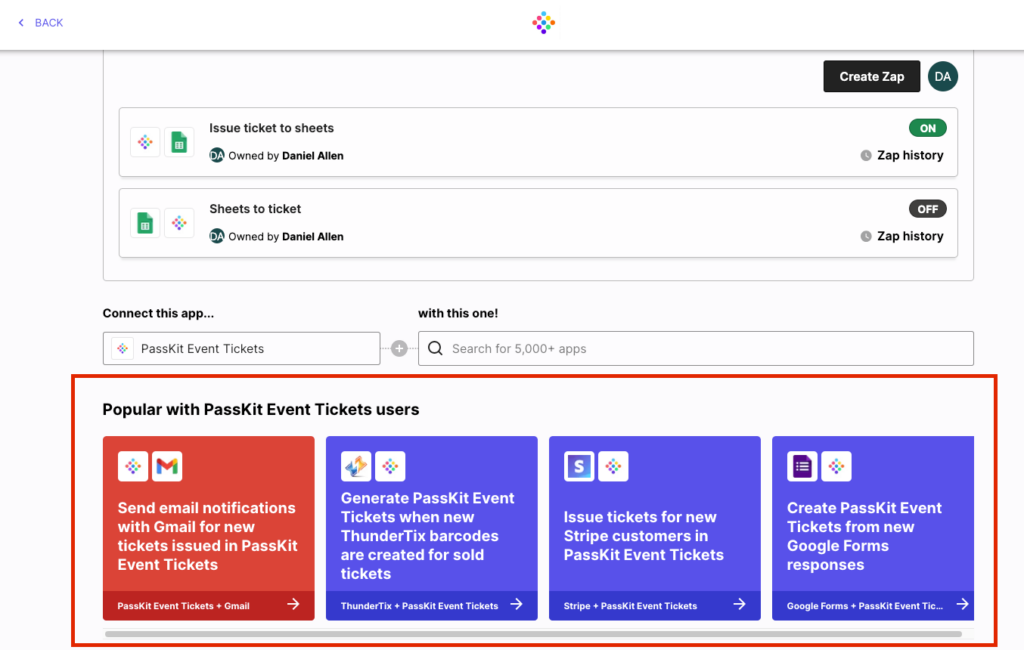
For more advanced setups, PassKit’s API and Webhooks allow real-time updates, allowing you to log event data and track how QR codes are generated and scanned. These integration options let you connect ticketing with other parts of your workflow, ensuring everything works together efficiently without disrupting your existing processes.
7. Real-Time Monitoring and Analytics
PassKit’s real-time analytics provide valuable insights into your marketing efforts, tracking how QR codes work during attendee check-ins at your upcoming event. You can monitor how QR codes are generated and scanned, as well as monitor comprehensive reports of event attendance data.
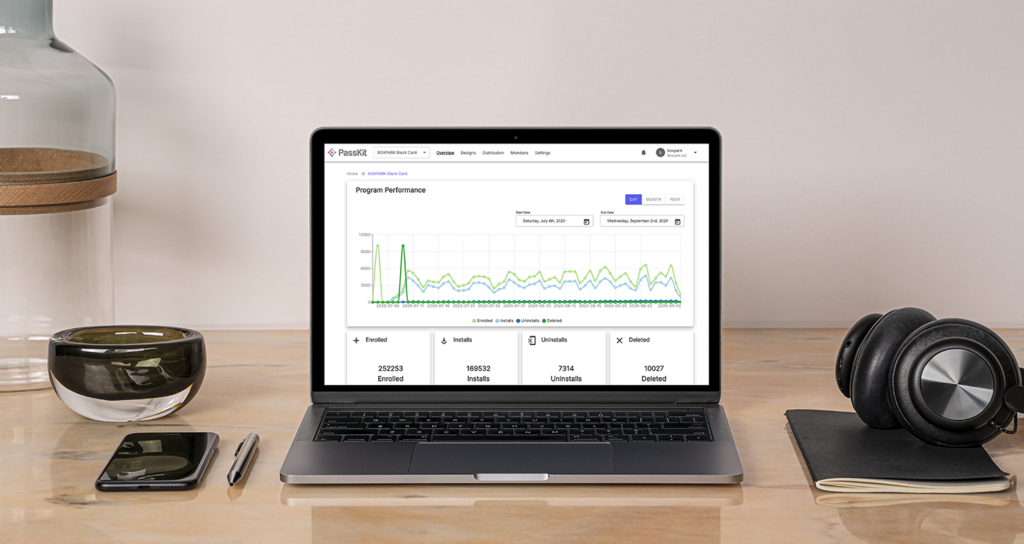
These reports can include information such as enrolled, installs, uninstalls and deleted tickets, which helps improve your marketing practices for future events. Whether analyzing data logs from app interactions or tracking attendee entry via QR codes, PassKit’s analytics allow you to optimize your event from start to finish.
Conclusion
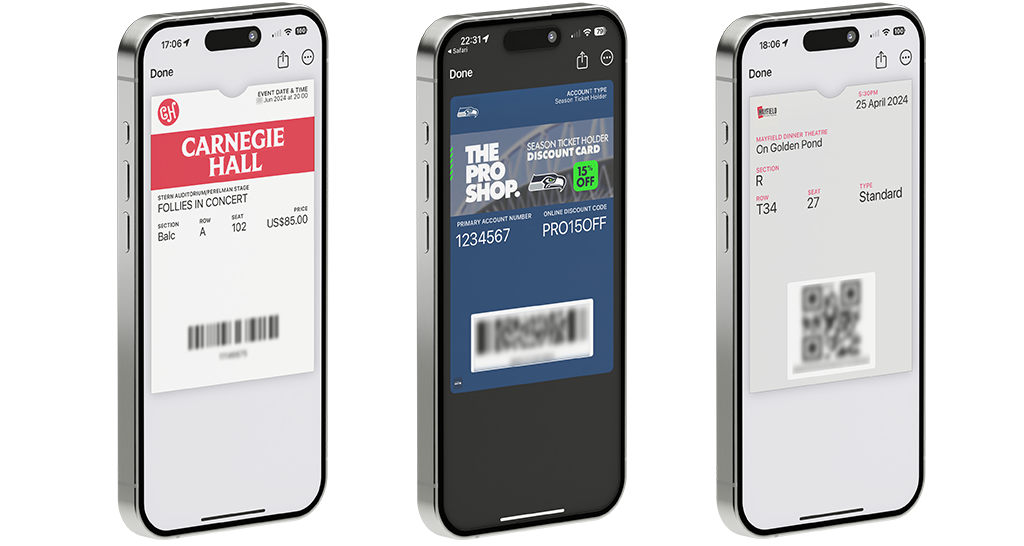
PassKit allows you to create and distribute QR code event tickets efficiently, with features like real-time updates and easy integration with your current systems. It helps you manage your events with ease and keeps attendees informed. Sign up for the 45-day free trial to explore its full range of features and improve how you handle event ticketing and attendance.

