
Scan passes using the CodeREADr app
Learn how to scan and validate Apple Wallet and Google Wallet passes with the CodeREADr app.
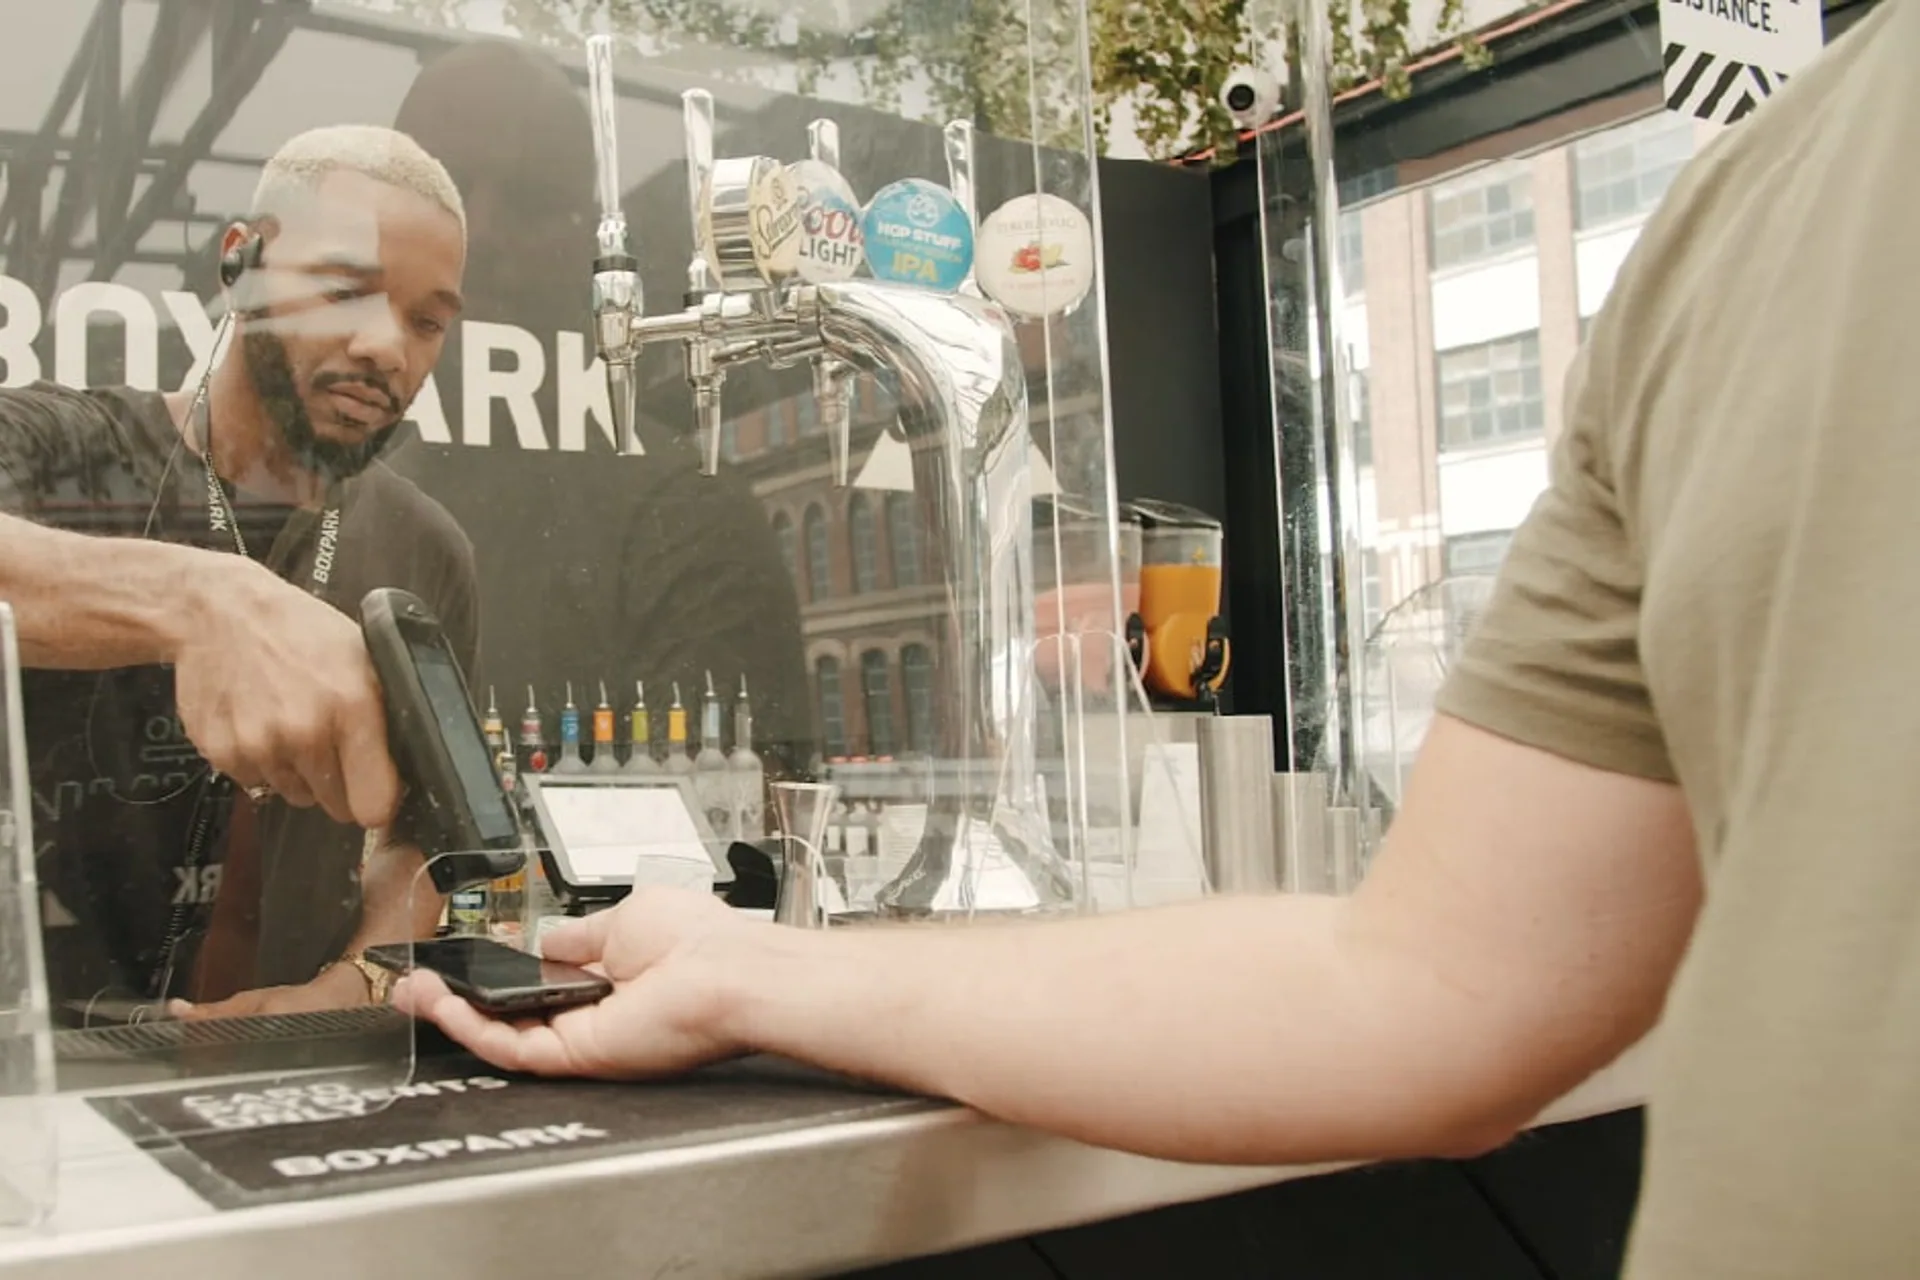
Watch the video to learn how you use the PassKit CodeREADr integration. Use this integration to scan your membership cards and loyalty cards, give members points, deduct points, set balances, or change their tier.
Setting Up the Demo Membership Program
Like always, I’ve already set up a demo project in my account here. I’m just going to be walking you through the customer experience.
What I have here is a program with three tiers defined. I’ve got bronze, silver and gold. Each of those designs has a different colour, so we can clearly see what’s happening.
We have our bronze card, our silver card, and then our gold card.
This is going to be a slightly shorter video than usual. If you want more detail on how to set up your design or the initial CodeREADr integration, I recommend checking one of our other CodeREADr help videos or the getting started guides for setting up your membership program.
What I’m going to do here is enrol a new member and show you the user experience first.
I’ll create a new member, give them my name, set the points balance to zero, and enrol myself into the bronze tier. I’m not going to add any other data for this demonstration.
Now we can see the member has been created.
From here, I’m going to open the pass URL. For the sake of this demo, I’m going to show this in the browser so I can use the Google Pay preview, which has a useful browser render.
In parallel, I’m going to share my phone screen so you can see what the scanning app looks like.
I’m going to save the pass to Google Pay. It’s attached to my email account, so if I’m logged in with the same email account on my Google Pay devices, I’ll have access to the same pass.
Here we’ve got the pass. We can see the tier is bronze and the points balance is zero.
On the right, we can see my iPhone screen. I’m going to open the CodeREADr app.
The Four CodeREADr Member Actions
I’ve set up four services here:
- Burn points
- Change tier
- Earn points
- Set points
Burn points means you’re going to deduct points from the existing points balance.
Change tier means we’re going to switch the member between bronze, silver and gold.
Earn points means I’m going to add points to the member’s balance.
Set points means I’m going to set the balance directly to whatever value I want.
Earning Points
Let’s first give the member some points.
I’m going to select Earn Points, click continue, tap to scan, and point the scanner at the pass on my screen.
Now I can enter the number of points that should be awarded.
Let’s give myself 5,000 points.
The result now says the member has been updated with a balance of 5,000.
In the PassKit member record there are three types of point balances that can be updated for members:
- Primary points
- Secondary points
- Tier points
In this example, I’ve only set up my design to display primary points.
However, you could have a loyalty program where the primary balance contains regular loyalty points, while the secondary balance represents something like a cash or stored value balance.
Tier points could be used for something like an airline loyalty program, where customers earn regular airline miles as well as separate tier points that move them between bronze, silver, gold or platinum membership levels.
All of these balances can be updated through the CodeREADr integration.
If we refresh the card in Google Pay, we can now see that the points balance has updated to 5,000.
Burning or Redeeming Points
Now let’s deduct some points.
I’ll select Burn Points, click continue, tap to scan, and scan the card again.
Let’s say I want to burn 1,000 points. That should bring the balance down from 5,000 to 4,000.
I’ll submit that.
The result says the member has been updated and the balance is now 4,000.
If I refresh the pass, we can see that the balance has changed to 4,000.
This makes it very easy to manage members and either give them points or deduct points from their balance.
Setting a Points Balance Directly
Next, let’s set the points balance directly.
You might not run an earn-and-burn loyalty program. Instead, you may simply want to set a member’s balance to a specific value.
I can select Set Points, tap to scan, point the scanner at the card and enter the value I want.
If I set this to 1,000, the member’s points balance will update directly to 1,000.
After refreshing the pass, we can see the new balance.
That’s a quick demonstration of how you can manage points balances for your members.
Changing a Member’s Tier
Now let’s look at what we can do with tiers.
I’ve got three tiers set up in this program:
- Bronze
- Silver
- Gold
I’ll select Change Tier and scan the membership card.
The available tiers appear as bronze, silver and gold.
Let’s promote the member from bronze to silver.
I’ll select silver and submit the change.
The result confirms that the member is now in the silver tier.
If I refresh the pass, we can see that the membership card has updated from bronze to silver.
How the PassKit and CodeREADr Integration Works
Now let’s look at how this has been configured so you can understand how to set it up for your own program.
If we go back into the PassKit portal, open the project settings and go to the integrations section, we can see the CodeREADr integration.
There are several available events.
Previously, we had events such as check-in, check-out and verify member.
We now also have:
- Earn points
- Burn points
- Set points
- Change tier
Before looking at those in PassKit, let’s open the CodeREADr application so we can see what’s configured there.
Configuring Services in CodeREADr
In CodeREADr, I have four services configured:
- Earn Points
- Burn or Redeem Points
- Set Points
- Change Tier
These correspond directly with the services we just used on the mobile device.
Configuring the Earn Points Service
Let’s look at the Earn Points service first.
As you’ll remember from the previous CodeREADr video, the basic configuration is straightforward.
For the other events, all we had to do was copy the appropriate PassKit URL into CodeREADr.
For Earn Points, however, there are some additional configuration fields.
In PassKit we have:
- Earn points field ID
- Earn secondary points field ID
- Earn tier points field ID
When we scanned the card earlier, CodeREADr displayed a form asking us how many points should be added.
That form is where the integration happens.
In CodeREADr, after a scan occurs but before the scan is submitted, you can configure the app to ask the user for additional information.
For this service, I’ve created a question asking:
How many points should the member receive?
The question type should be a short answer using numeric entry.
Using numeric entry is useful because it brings up the numeric keyboard on the scanning device instead of the standard text keyboard.
Once that question has been created, CodeREADr gives it a question ID.
That question ID is the important part.
PassKit needs that ID so that when the scan comes in, PassKit knows which CodeREADr answer contains the points value.
I can copy the question ID from CodeREADr and paste it into the Earn Points Field ID field in PassKit.
If I wanted the same field to increase the secondary points balance instead, I could put the ID into the secondary points field.
If I wanted it to increase tier points, I could put it into the tier points field.
You could also build a CodeREADr form containing multiple questions so that a single scan updates primary points, secondary points and tier points at the same time.
You don’t need to perform multiple scans.
Controlling Which Users Can Award Points
The second step in CodeREADr allows you to define which users can access each service.
This information is also captured by PassKit.
For example, if you have several stores, outlets or staff members and each person has their own CodeREADr login, you can track which user awarded points to which member.
This gives you a basic audit trail.
If you’re concerned about staff awarding too many points or changing tiers when they’re not authorised to do so, individual CodeREADr accounts give you a useful level of user management and accountability.
Configuring Burn Points and Set Points
The same process applies to Burn Points.
First, copy the PassKit Burn Points event URL into the relevant CodeREADr service.
Then create a question such as:
How many points should be redeemed?
CodeREADr generates a question ID for that field.
Copy that question ID into the appropriate Burn Points field in PassKit.
The same approach applies to Set Points.
Create the Set Points service in CodeREADr, copy the corresponding PassKit URL, create the numeric question, and paste the resulting question ID into the correct PassKit field.
The important part is ensuring that the correct CodeREADr question ID is mapped to the correct PassKit balance field.
Configuring the Change Tier Service
Changing tiers works slightly differently because we want to show a selection of available tiers rather than asking the scanner to type a number.
In CodeREADr, open the Change Tier service and configure the appropriate PassKit Change Tier URL.
Then create a question for the member’s new tier.
Instead of using a short answer or numeric field, select Multiple Choice.
This is important because the integration needs a single selected tier value.
For this example, my choices are:
- Bronze
- Silver
- Gold
These names don’t necessarily need to exactly match the names inside PassKit because we’re going to map the CodeREADr values to the PassKit tier IDs.
CodeREADr generates a question ID for the tier question.
Copy that question ID into the Change Tier field in PassKit.
Then map each CodeREADr answer to the corresponding PassKit tier ID.
For example:
- Bronze maps to the PassKit bronze tier ID
- Silver maps to the PassKit silver tier ID
- Gold maps to the PassKit gold tier ID
Once those mappings are saved, the CodeREADr scanner can display the available choices and PassKit will know exactly which tier the member should be moved into.
Reviewing Member Events in PassKit
The final thing I want to show is the data PassKit collects after these scans.
Inside the PassKit portal, go to the Member Events section.
Here we can see the events that have just taken place:
- Points earned
- Points burned
- Points set
- Tier changed
PassKit stores useful metadata for each event.
For points events, we can look at fields such as:
- Event type
- Date
- Member name
- Points before change
- Points after change
- Points change value
For example, on the Earn Points event, the original points balance was zero.
We added 5,000 points.
After the change, the member’s balance was 5,000.
For the Burn Points event, the member had 5,000 points before the change.
We burned 1,000 points.
The balance afterwards was 4,000.
For the Set Points event, the member had 4,000 points before the change.
We set the balance to 1,000.
Afterwards, the balance was 1,000.
Reviewing Tier Changes
Tier changes have slightly different event data.
Instead of looking at points before and after a change, we can look at:
- Tier before change
- Tier after change
In our example, we can see that the member moved from bronze to silver.
This provides a useful audit history showing exactly what happened to the membership record.
Tracking Which CodeREADr User Made a Change
PassKit also captures the external CodeREADr user ID.
That ID can be matched against the user accounts inside CodeREADr.
For example, if an event contains a particular external user ID, I can open the CodeREADr users section and identify which staff member or merchant account performed that scan.
This allows you to see who awarded points, redeemed points or changed a member’s tier, as well as when the action happened.
This data gives you a useful audit trail and makes it easier to track, measure and report on activity across your membership or loyalty program.
Using CodeREADr With PassKit
The CodeREADr integration gives you a straightforward way to manage PassKit membership and loyalty cards through scanning.
You can use it to award points, redeem points, set balances, change membership tiers and capture an audit history of those actions.
By combining PassKit member events with CodeREADr user accounts, you can also track which staff members, merchants or locations performed each action.
I hope this demo was useful and gives you some ideas for what you can create using CodeREADr and PassKit.